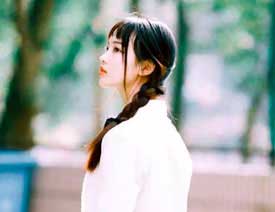
原图

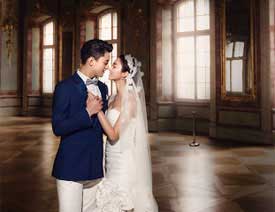
最终效果

1、打开原图素材,双击把背景图层解锁,然后用外挂滤镜Portraiture进行磨皮及调色,参数设置如下图。没有这款滤镜可以去网上下载。

2、这时人物已经大体的美白过了,我们接下来开始调颜色,新建一个图层按Ctrl + Alt + Shift + E 盖印图层,复制一层,创建色阶调整图层,参数设置如下图。

3、创建色相/饱和度调整图层,对个通道进行调整,参数设置如下图。


4、创建亮度/对比度调整图层,参数设置如下图。

5、创建通道混合器调整图层,对红,绿进行调整,参数设置如下图。

6、创建色彩平衡调整图层,对中间调进行调整,参数设置如下图。

7、创建照片滤镜调整图层,参数设置如下图。

8、创建可选颜色调整图层,对个通道进行调整,参数设置如下图。


9、再创建可选颜色调整图层,对绿,青,白,中性色进行调整,参数设置如下图。


10、新建一个图层,盖印图层,执行:滤镜 > 锐化 > USM锐化,参数设置如下图。

最后加上一些装饰文字,完成最终效果。