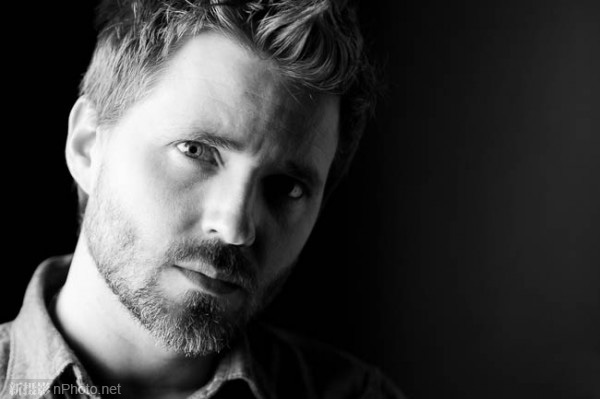
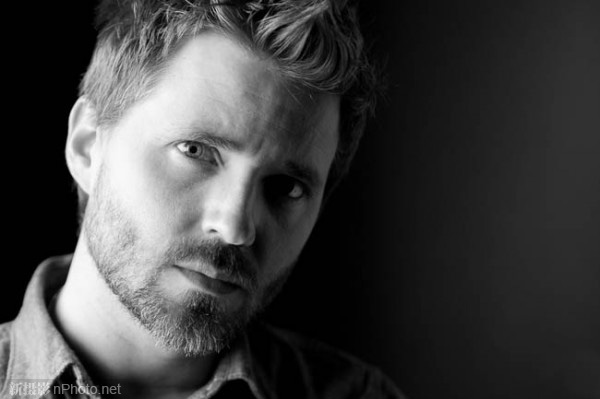
原始照片

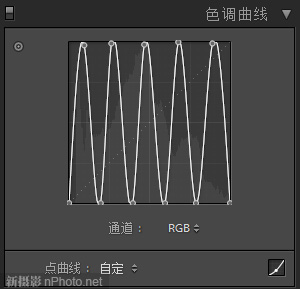
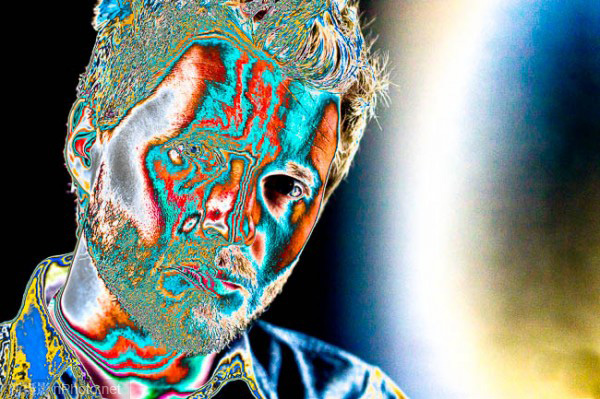
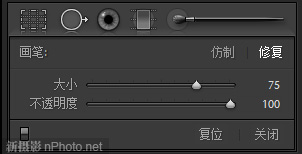
首先我们要消除照片上容易被漏掉的污点和瑕疵。为了让污点更容易被发现,我们先把曲线调成这个样子:
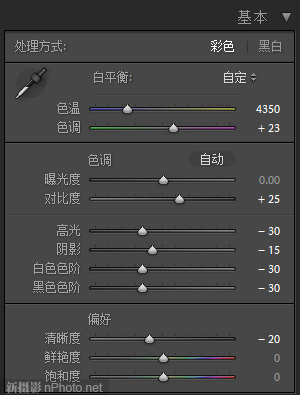
Step 2:基本调整
首先,我们要将照片转成黑白,按“V”键。因为这是一张人像照片,所以我们会希望让皮肤上的高光更柔和,增加对比度,并做一些其他必要的调整。我们可以通过降低“高光”和“白色色阶”来柔和高光,同时降低“阴影”和“黑色色阶”来提高对比度。此外,我们还会直接调整“对比度”滑块来进一步增加对比度。最后,为了让皮肤更柔和,我们再降低清晰度。
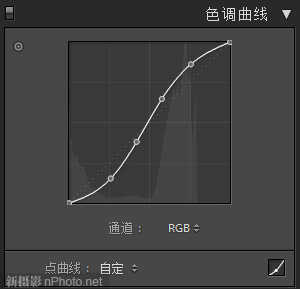
上面的操作会让照片有一点平。除了直接提高“对比度”外,我们还将用色调曲线更细致地调整对比度。
如果你的“色调曲线”面板不是下面这样的,注意点击右下角的曲线图标。我们需要一个“S”形曲线来提高对比度。
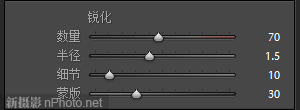
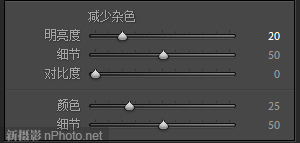
Step 4:锐化和降噪
这里是一个典型的锐化设置: