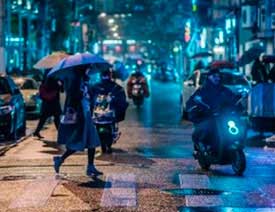
原图

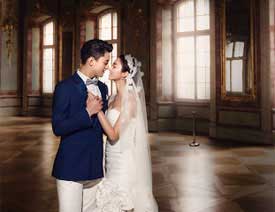
最终效果

1、使用图章磨皮,也可以使用一些插件,磨皮的方式方法有很多,只要能达到所需要的效果都是好的方法,重要的是找到其中一个适合你。

2、用渐变映射(黄橙色),这一步是确定图片的基调,图层模式为滤色,不透明度14%。

3、调整可选颜色:红色(-62、-21、28、0)、黄色(-44、17、-78、0)、白色(6、0、7、0)、中性色(0、0、-9、10)、黑色(8、0、-6、0)这里的数据只作为参考,实际操作时应根据需要调整。


4、设置渐变映射,模式为明度,去灰加对比度,添加蒙板用画笔擦掉过暗的地方。

5、使用曲线微调颜色,在调整时需要留意暗部和亮部的细节。

6、调整亮度/对比度,亮度21,对比度58,目的让画面更通透。

7、再次使用黑白渐变映射去灰作用,图层模式,明度42%不透明度。

8、色相/饱和度-红色明度+7,这是为了减弱皮肤的红色。

9、拖入选好的雪花素材,图层模式为滤色,在这里我将雪花素材复制,建立图层组蒙板擦掉一些不需要的地方,如挡住眼睛五官的地方等,完成最终效果。


最终效果:
原文地址:Photoshop后期处理:梦幻调照片教程