有时候因为条件限制,想要的效果没办法在前期拍摄时满足。不过我们可以通过后期处理来弥补!
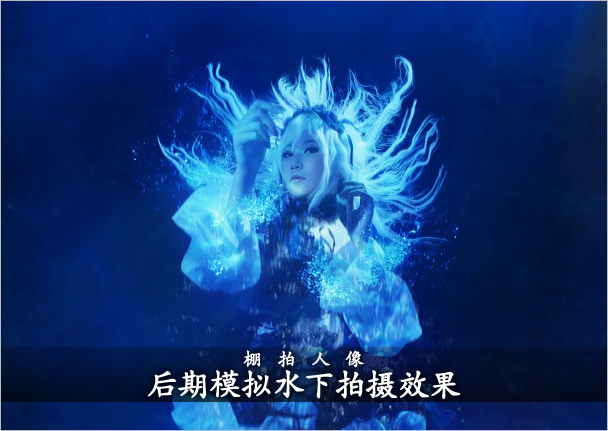
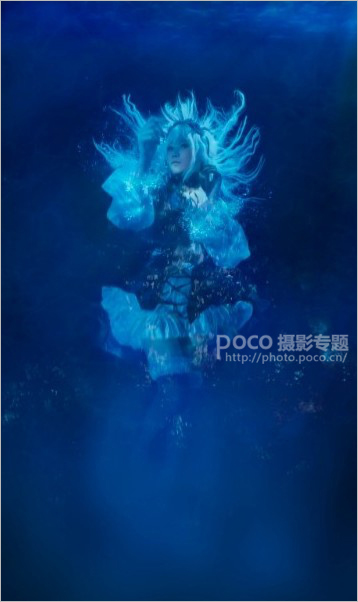
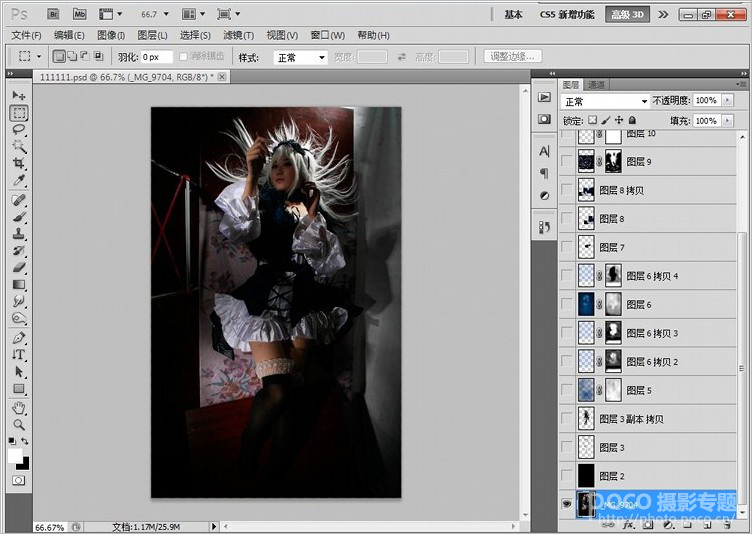
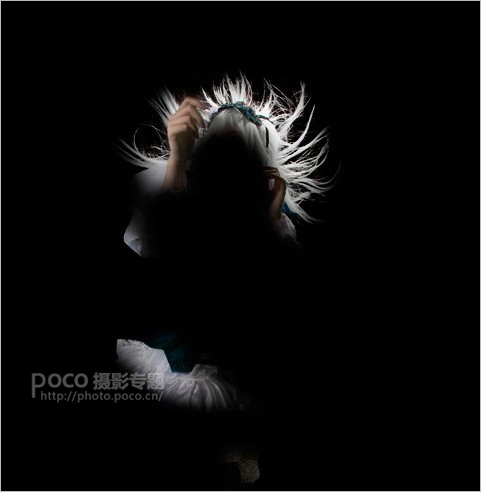
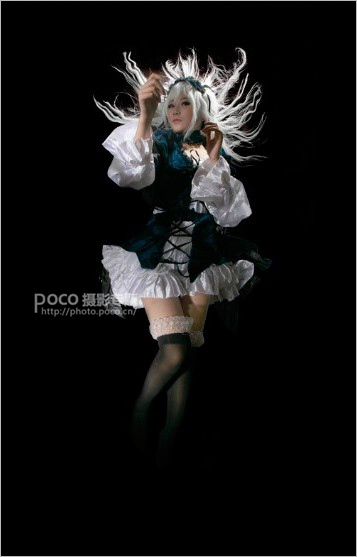
先看原图。
这里打了三盏灯,一盏是从头顶过来的,一盏胸口,一盏大腿,这里灯位置有点不对,光是从头顶过来的,因为空间有限其他两个灯只做了辅助用。
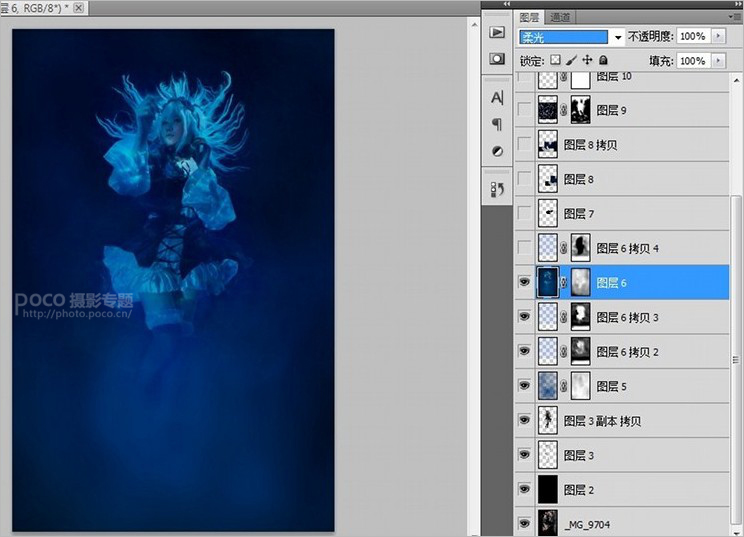
由于没找到黑色背景,所以我们要做最蛋疼的事情,抠图。首先我是抠了头发,用的是通道。
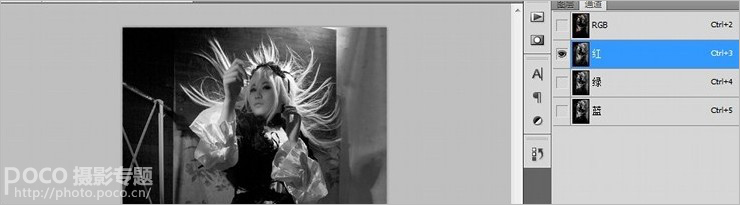
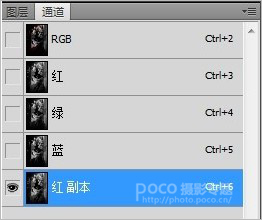
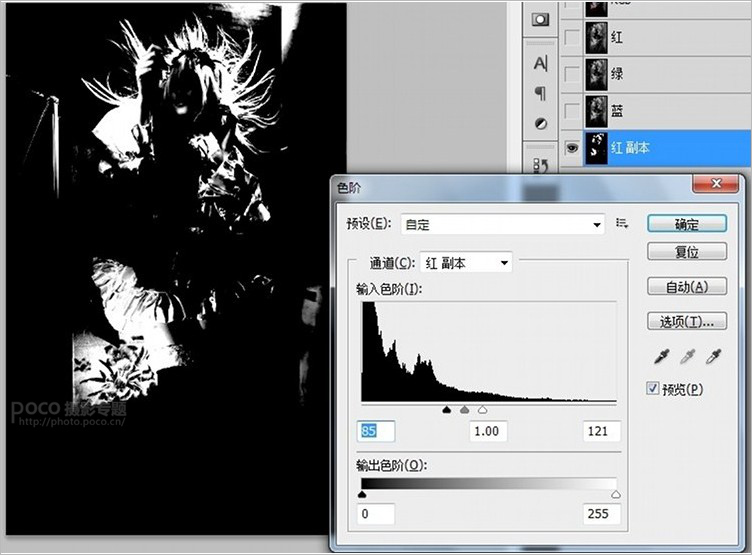
然后按CTRL+鼠标左键点击复制的红色图层得到选取,然后把复制的红色图层删除,回到图层面板,就是这样了。
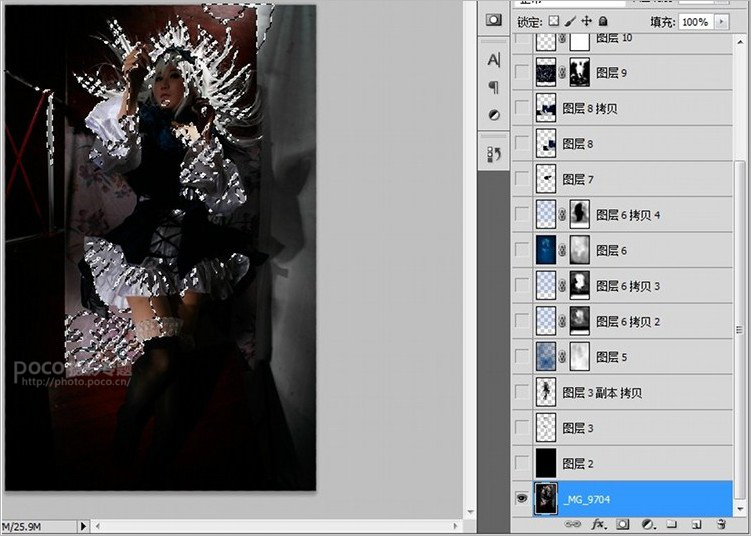
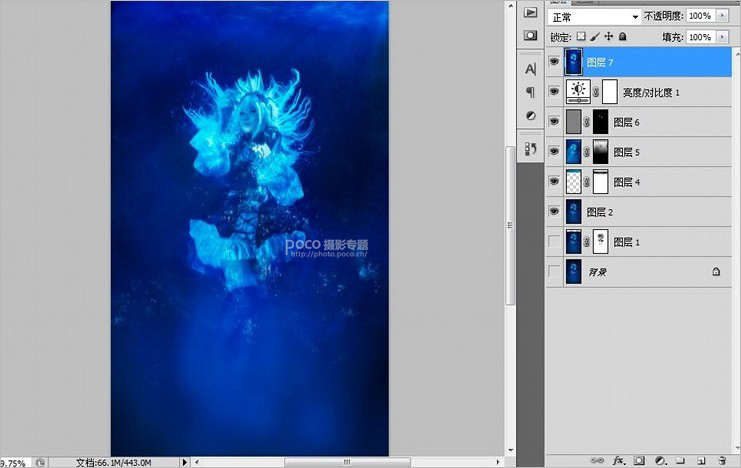
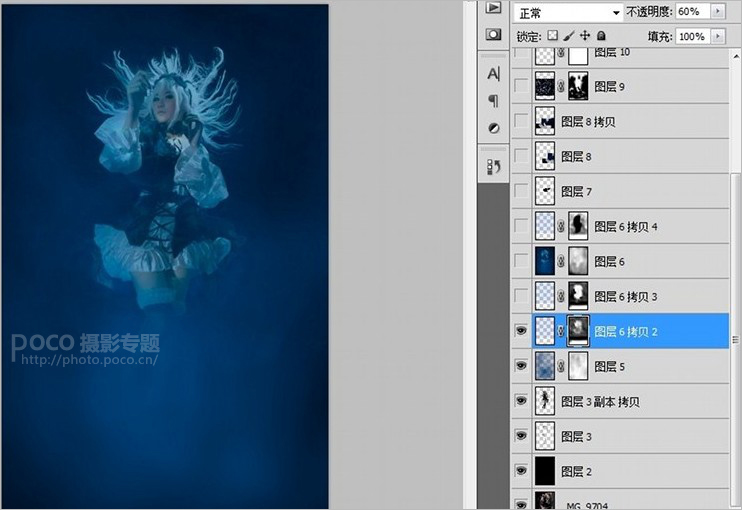
CTRL+J复制一个头发的选取的图层出来,其他的用钢笔工具抠掉,加入黑色涂层作为背景。
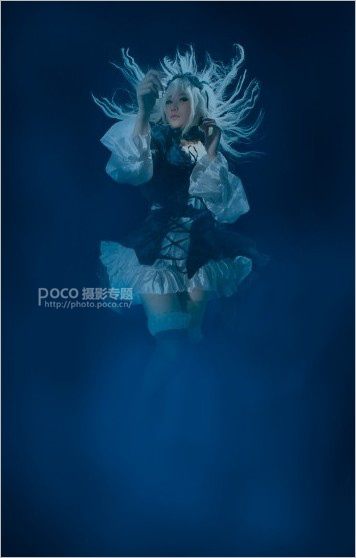
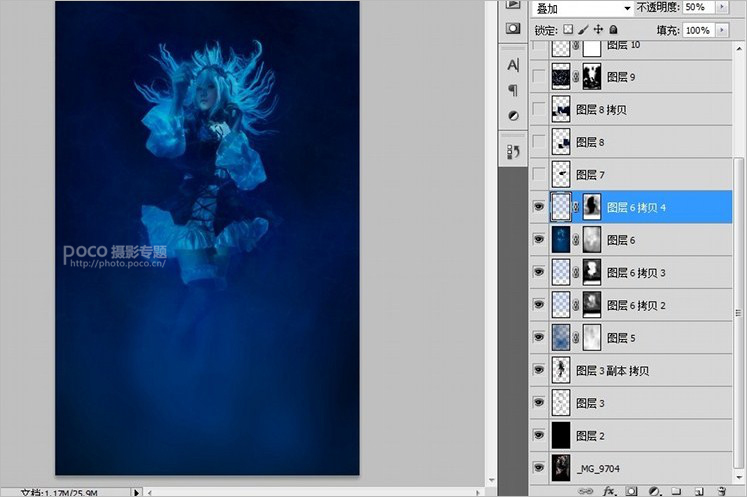
涂抹完以后找一张水纹的素材,改不透明度,我是改为60%。

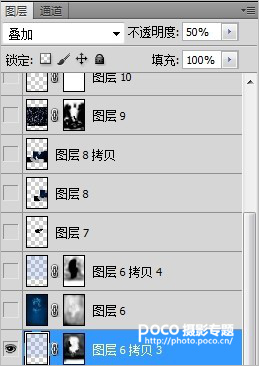
然后加上气泡素材,图层属性变亮,如果颜色和图片不同可以用色阶或曲线拉红绿蓝改成和图层差不多颜色。
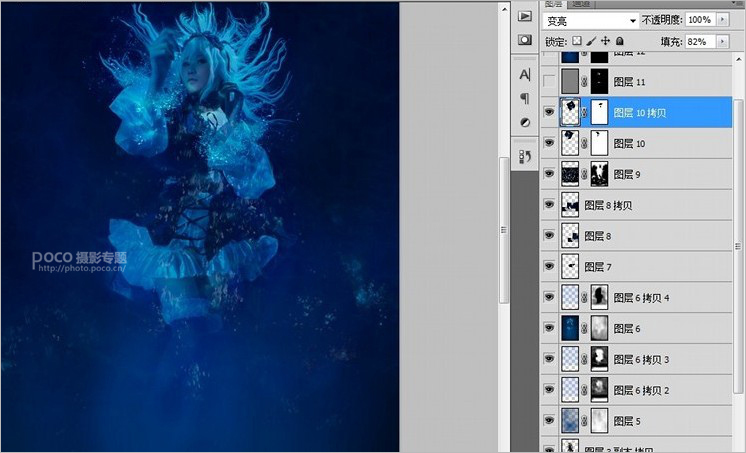
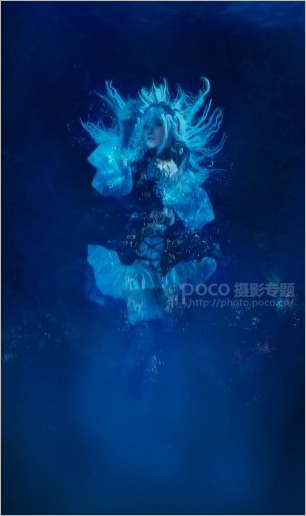
接着用钢笔工具画几个梯形,填充白色,高斯模糊10-15之间,然后改透明度。添加蒙版拉个渐变。透光就做好了。