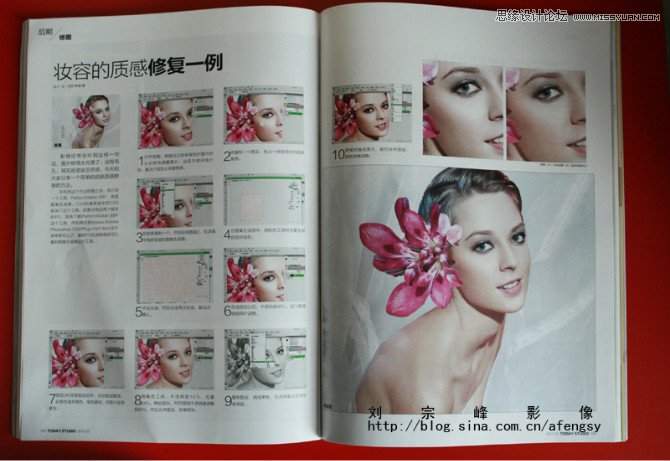
本教程是向PSD素材网(www.PSD.cn)的朋友介绍利用Photoshop后期调出超质感的人像面部肤色效果图,教程最终调出来的皮肤非常有质感,教程实用性很强,对于正在学习PS后期效果的朋友很有帮助。推荐到PSD素材网(www.PSD.cn),喜欢的朋友一起来学习吧!
影楼经常会听到这样一句话,图片修的太光滑了,没有毛孔了,其实就是缺乏质感,今天和大家一起分享一个简单的皮肤质感修复的方法,在利用这个方法修图之前,先讲一个工具,PatternMaker.8BF,就是图案生成器,CS4和最新版本的CS5取消了这个工具,你要是用这两个版本的PS,就先下载PatternMaker.8BF这个工具,然后拷贝到Adobe\Adobe Photoshop CS4\Plug-ins\Filters文件夹中就可以了,这样重启PS在滤镜里就可以看到图案生成器这个工具。
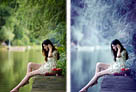
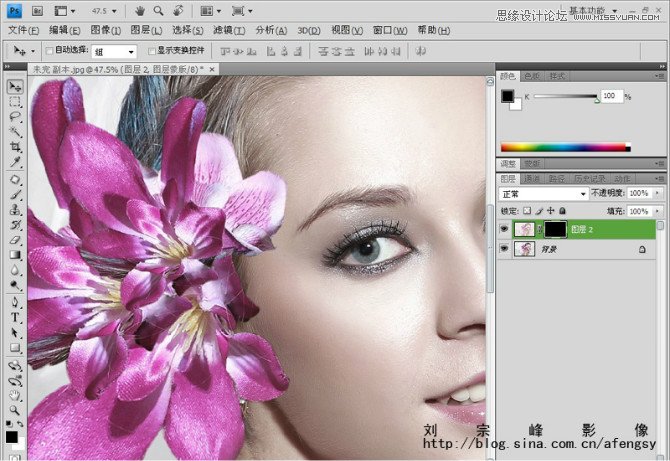
1. 打开原图。根据自己的审美和对图片的认识修饰调整图片,这里不做详细介绍,重点介绍怎么修复质感。
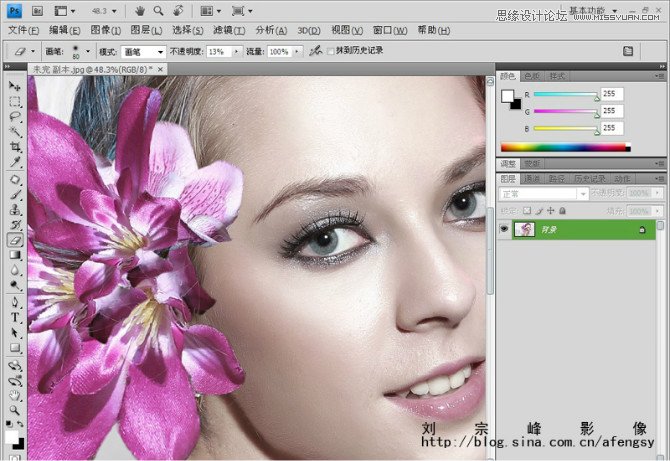
2 先复制一个图层,找出一块质感好的皮肤,备用。
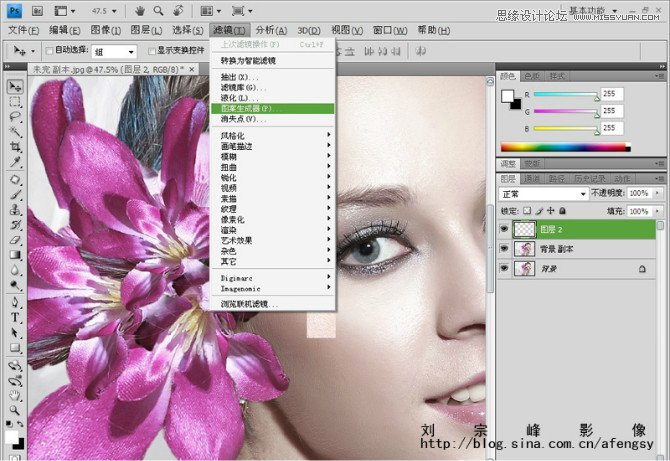
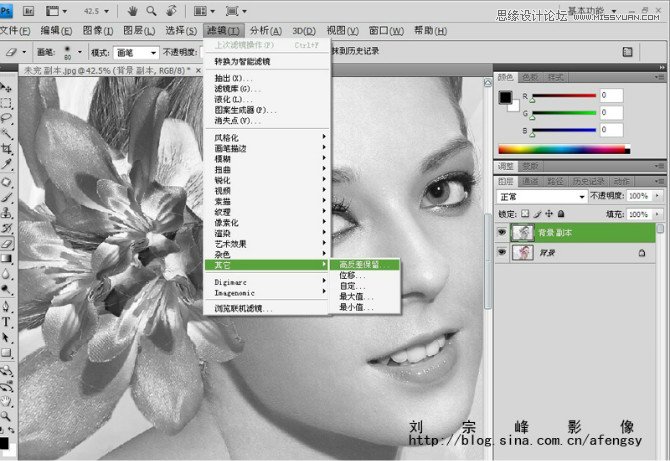
3 把背景复制一个,然后回到图层2,在滤镜中找到安装的图案生成器
4. 在图案生成器中,用矩形工具框住要生成的皮肤底色。
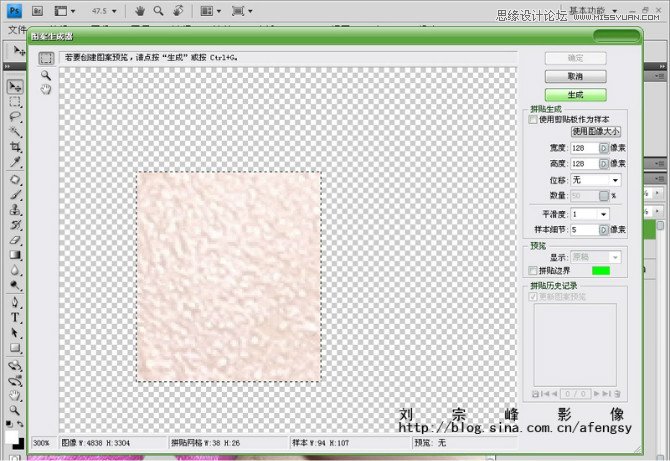
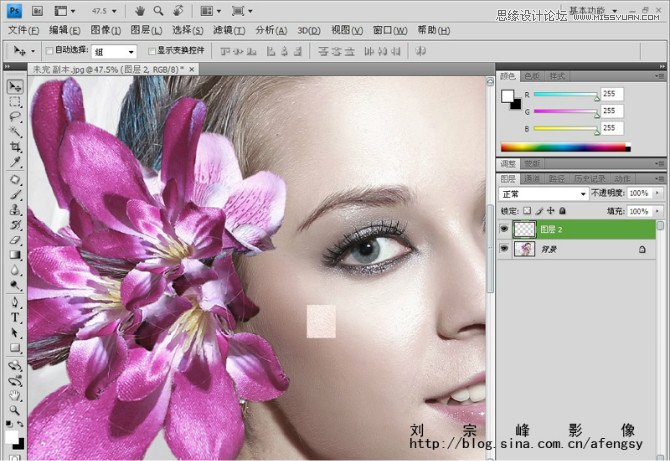
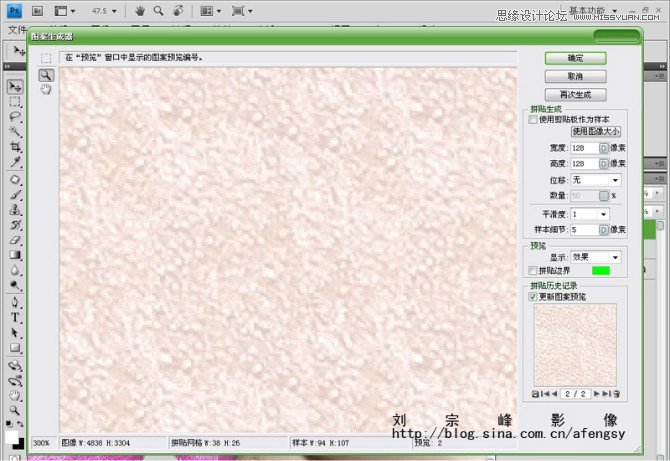
5. 点击生成,然后在点击再次生成,然后确认。
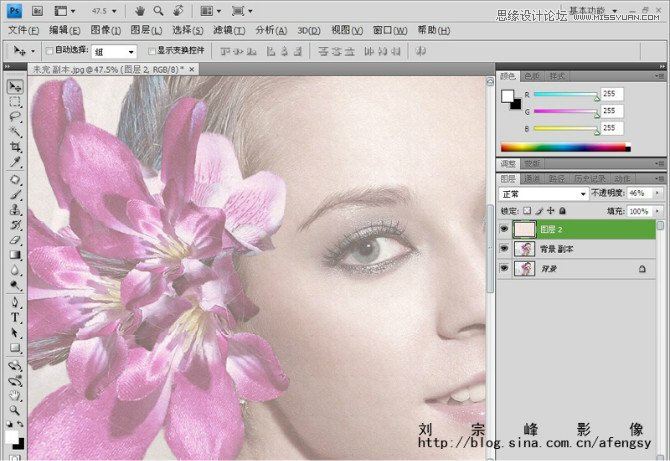
7. 生成皮肤以后,不透明度46%。这个数值根据照片调整。
8. 图层2和背景图层合并,添加蒙版,前景色填充黑色,填充蒙版,把图片全部蒙住。
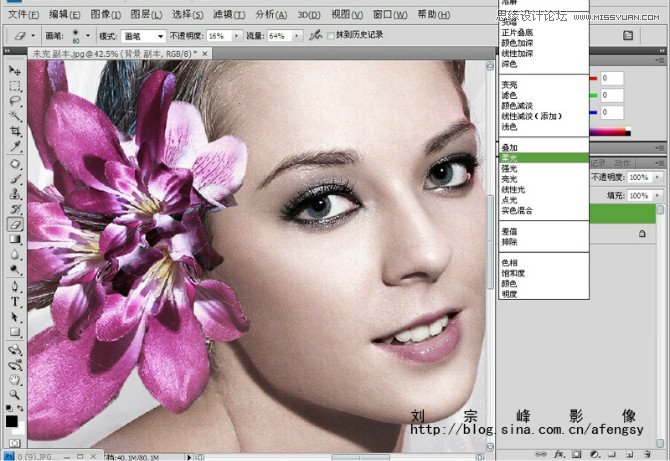
9. 用橡皮工具,不透明度16%,流量64%,擦出皮肤,然后不透明度调整到80%, 复制图层,调成单色,在滤镜里点击高反差保留。
10. 把模式换成柔光,最后合并图层,颜色简单调整。
对比图

教程结束,以上就是Photoshop后期调出超质感的人像面部肤色效果图,希望大家喜欢本教程!