
一、我们就拿来那个影楼风格教程中调好的照片为素材吧。打开素材,矩形选框工具伺候。
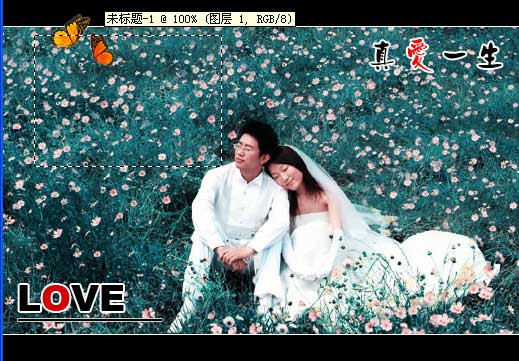
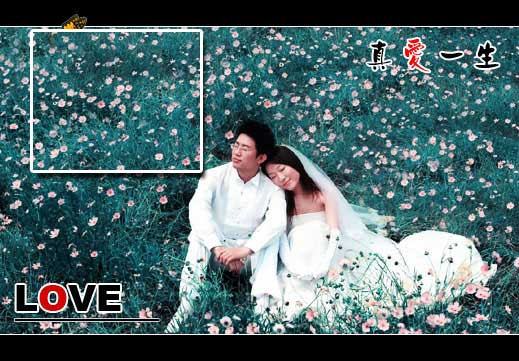
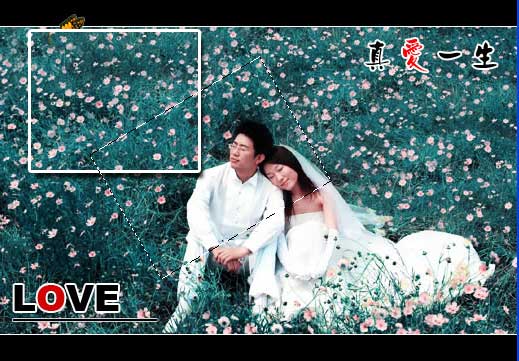
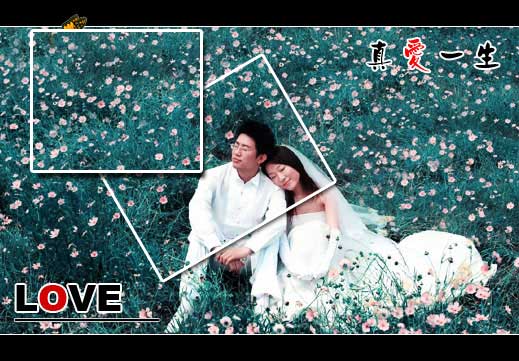
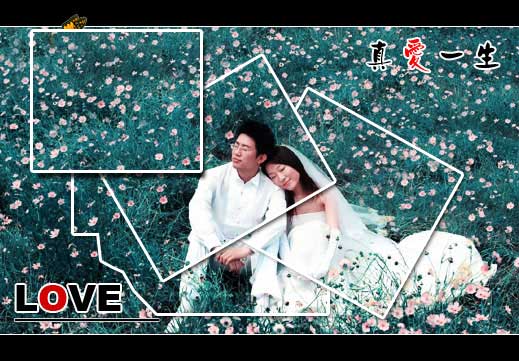
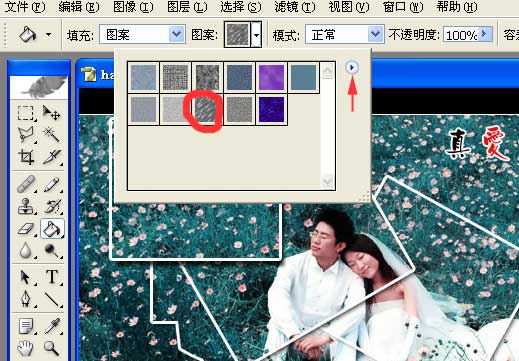
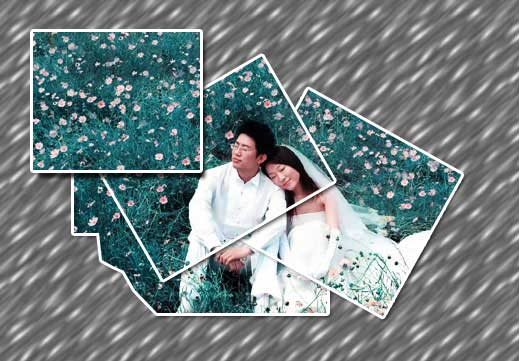
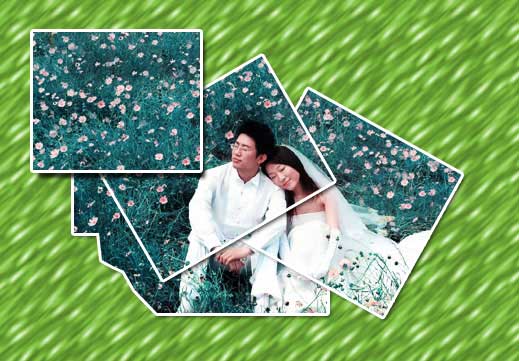
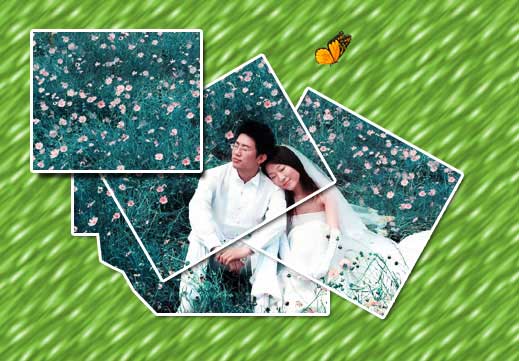
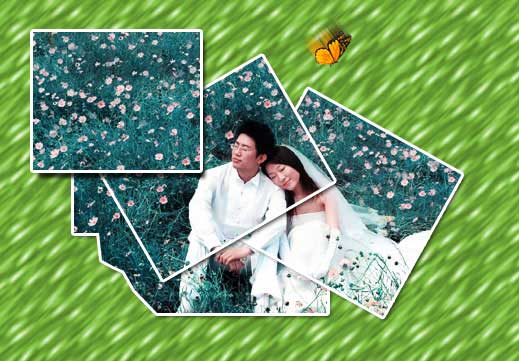
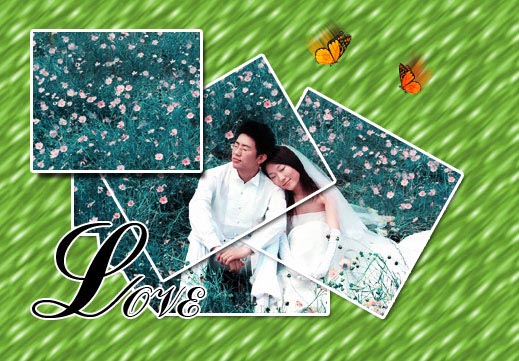
一、我们就拿来那个影楼风格教程中调好的照片为素材吧。打开素材,矩形选框工具伺候。
 PhotoShop制作同心圆扇形拼图效果
 MrKas超逼真的拼图风格3D涂鸦作品
 木制画廊——使用3D建模技术打造的木板拼图
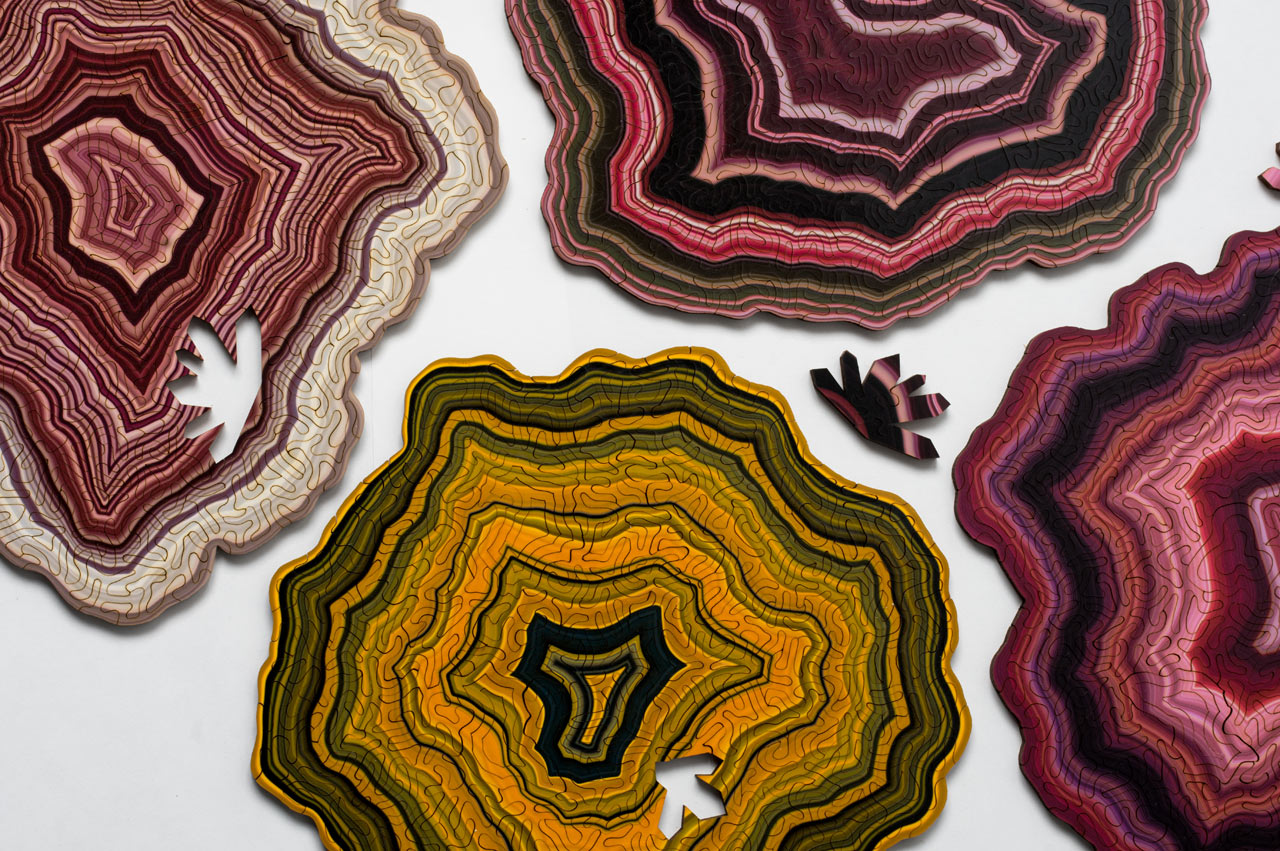
 令人惊叹的创意!错综复杂的拼图组成了大脑般的迷宫
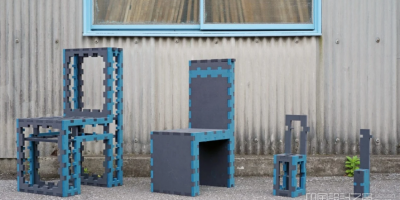 TWINS-MDF是一套椅子,可以像拼图一样相互组合
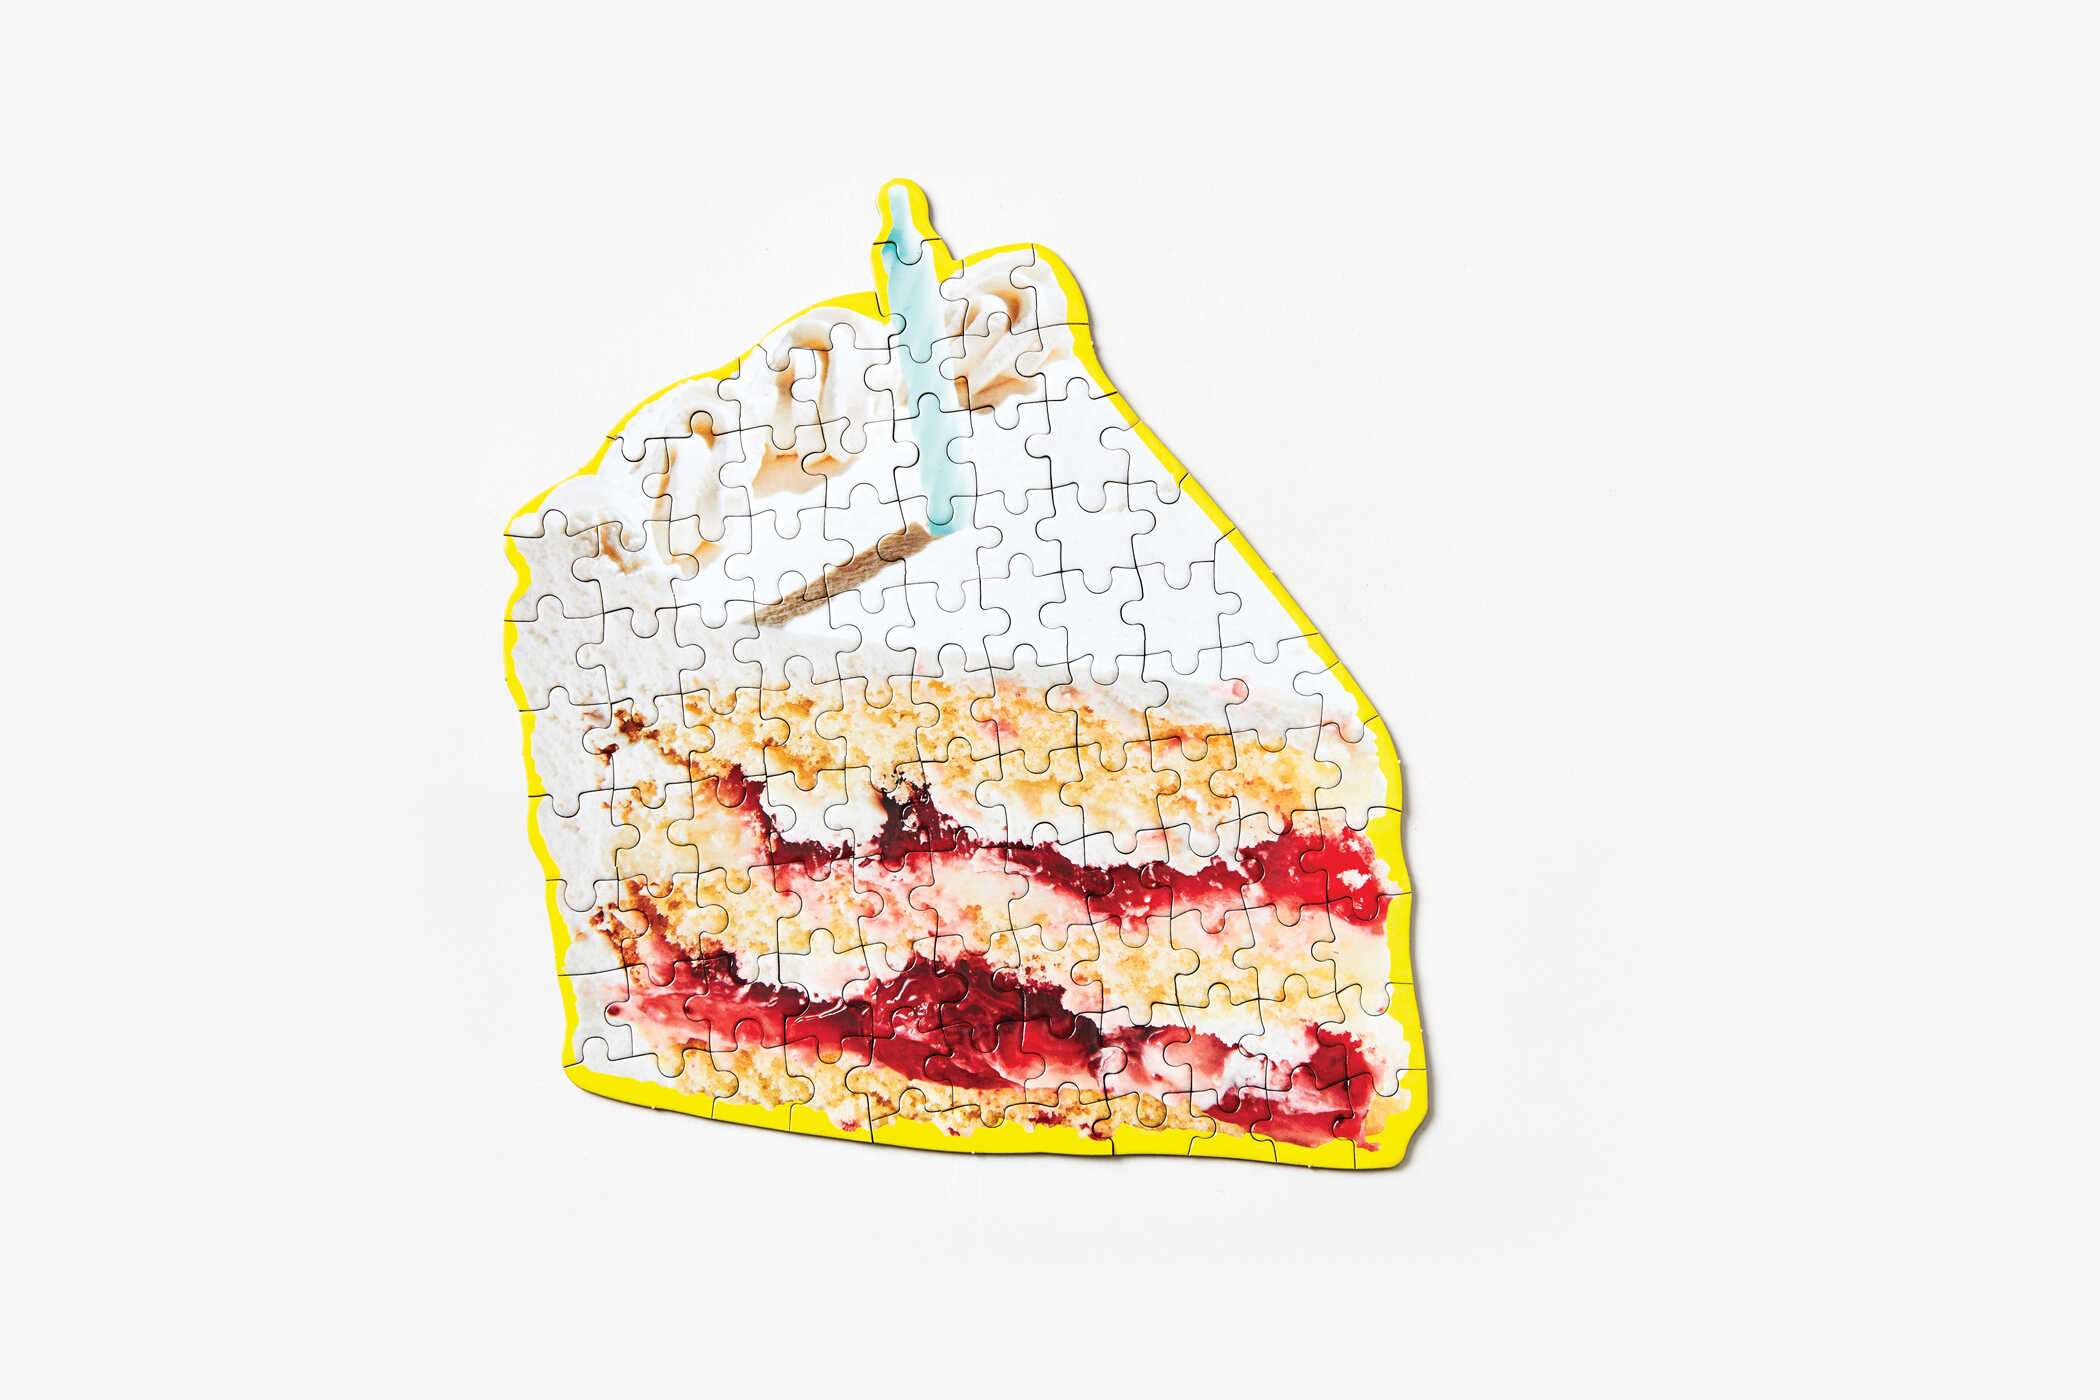 微型食物拼图,将益智艺术与烹饪乐趣相结合
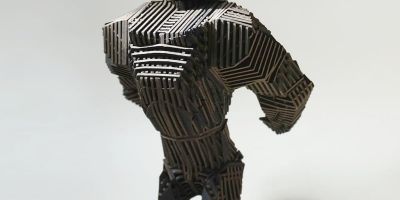 建筑师马特·兰登设计由546块纸板拼图而成的可移动的猿猴
 PS人物照片怎么做成成乐高像素拼图?
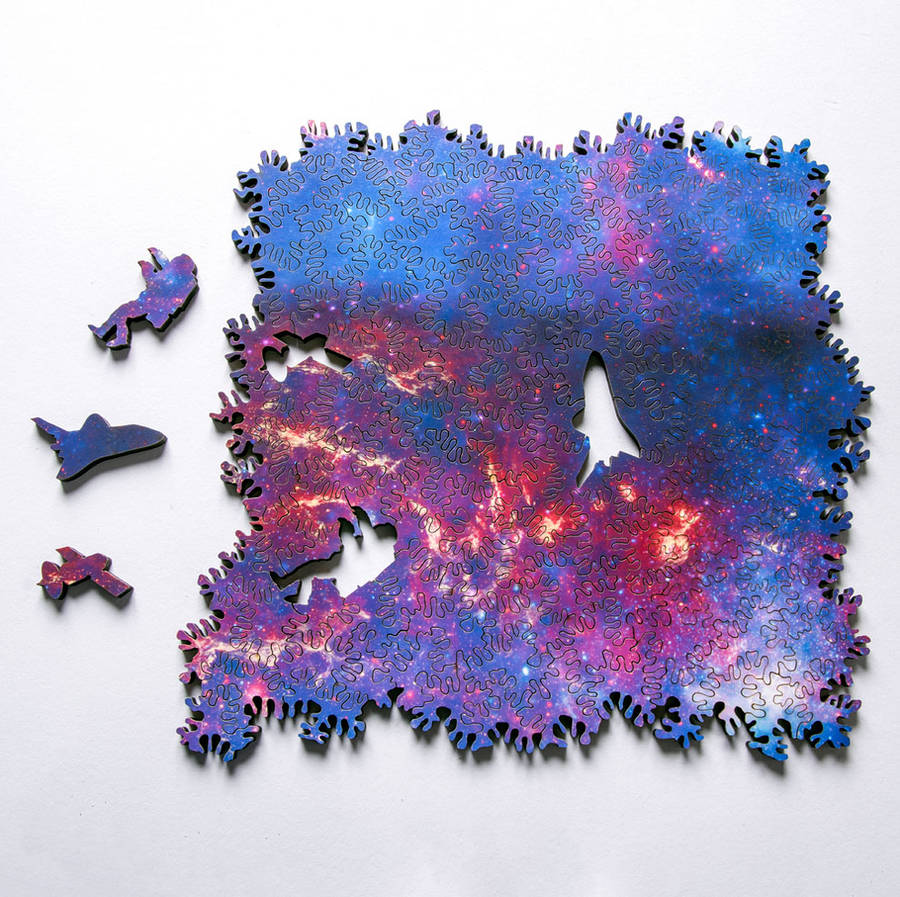 无限宇宙拼图,再现了美国宇航局拍摄的卫星照片
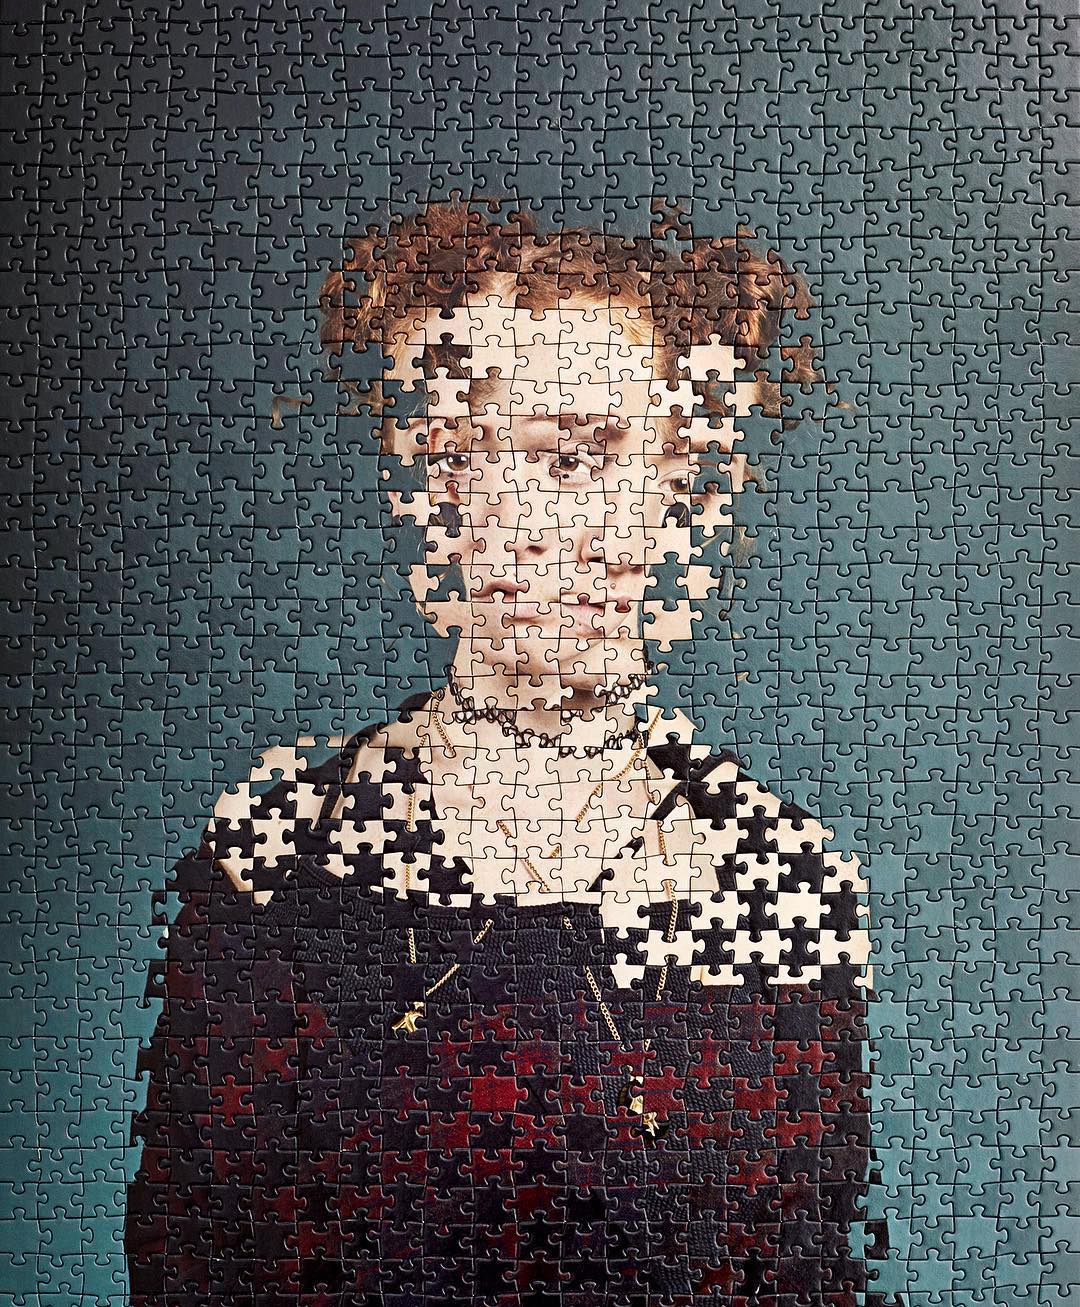 德国摄影师Alma Haser 有创意的双胞胎肖像拼图作品
 NERTUS设计工作室制作由算法生成的创意拼图
 PS怎么给图片制作碎片拼图效果?
 PS怎么制作一个千人成像照片拼图?
 朋友圈宝马广告那样的照片墙拼图怎么用PS做出来?
 教你用Photoshop制作创意风格的同心圆扇形拼图效果
 PS教你将美女相片变成高像素拼图
 淘宝春季促销标签怎么设计? ai设计促销横幅的技巧
 AI怎么快速绘制3d水滴形状? AI3D绕转效果的制作教程
 Photoshop调色教程:给公路上的情侣图片调出清爽的兰调风格
 Photoshop婚片调色教程:给树林里的情侣婚片调出漂亮的红紫色
 ai导出jpg文件很多白边怎么办? ai导出jpg去掉多余白边的技巧