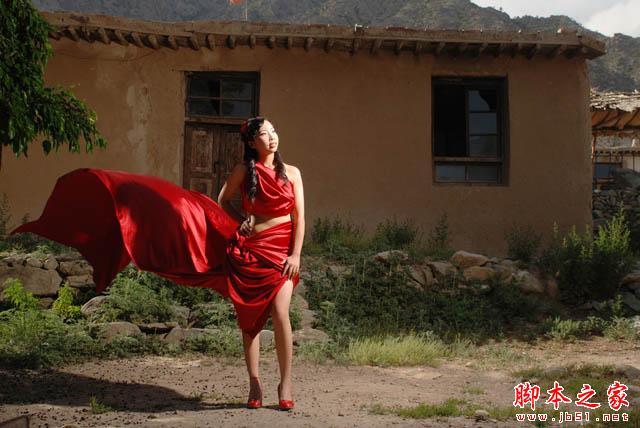
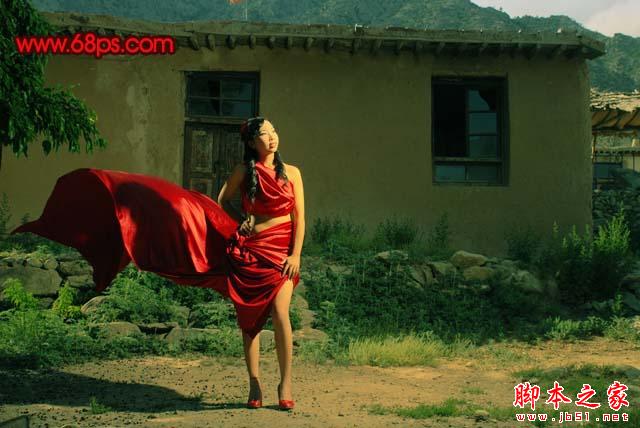
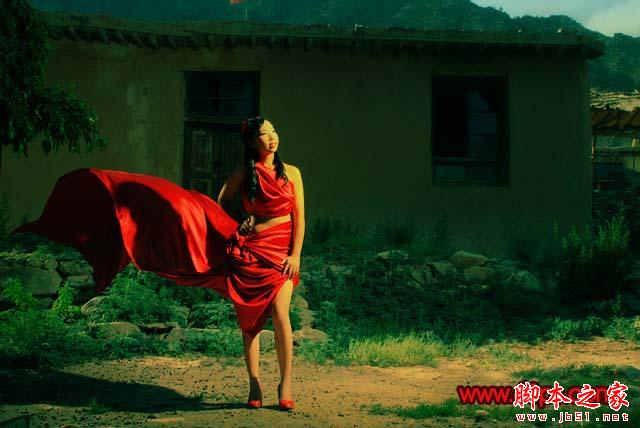
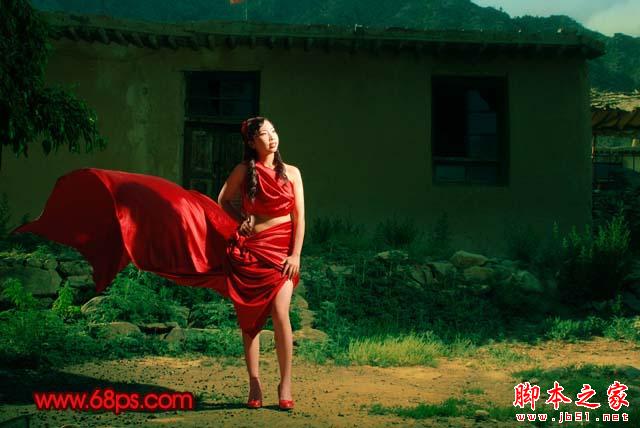
原图看起来有种古典的韵味,不过背景部分有点散乱,人物看起来不够突出。调色的时候可以把背景部分调暗,再适当加强一下人物周围部分的对比度,可更好的突出人物。
原图
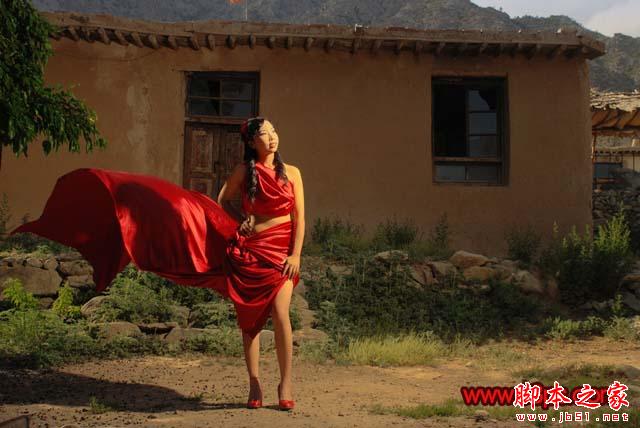
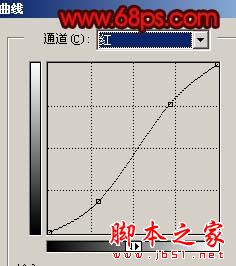
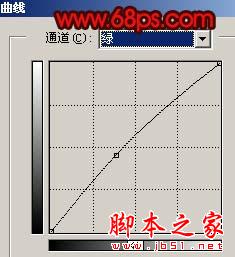
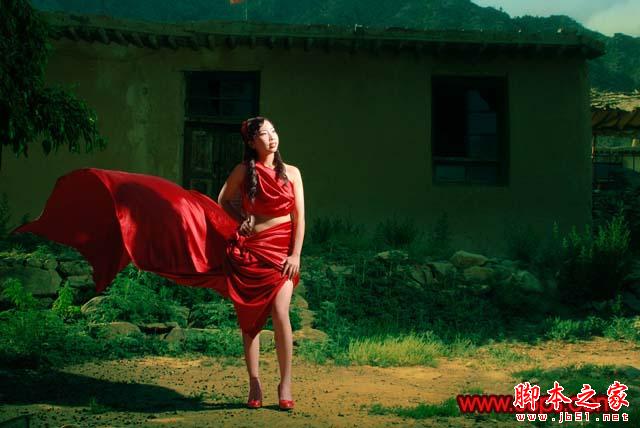
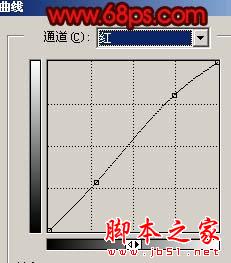
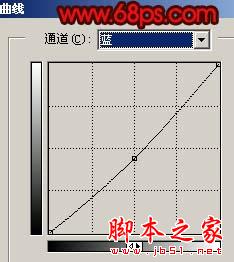
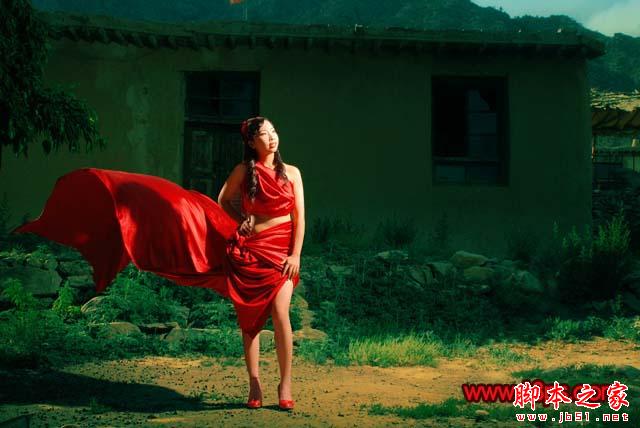
2、创建曲线调整图层,对红色及绿色进行调整,参数设置如图2,3,效果如图4。
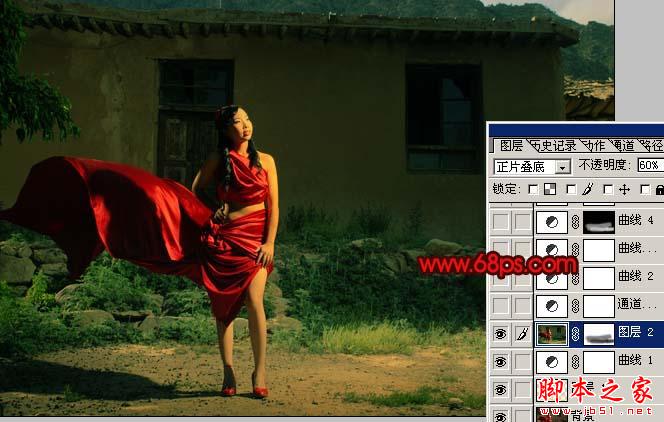
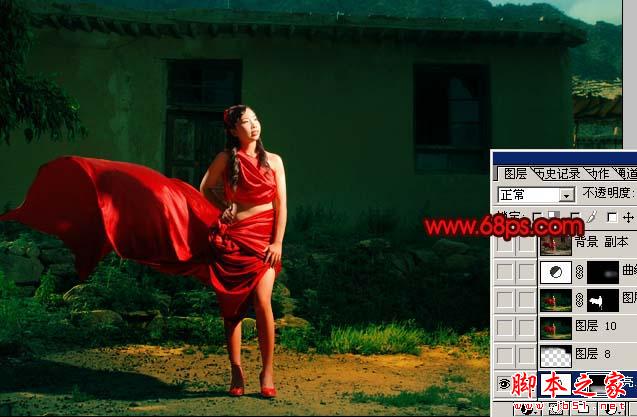
3、新建一个图层,按Ctrl + Alt + Shift + E 盖印图层,图层混合模式改为“正片叠底”,图层不透明度改为:60%,加上图层蒙版把人物脚下的草地部分涂出来,如下图。
4、创建曲线调整图层,适当加强一下对比度,效果如下图。
5、把背景图层复制一层,然后把副本移到图层的最上面,用钢笔工具把人物抠出来,把背景副本隐藏,效果如下图。
6、按Ctrl + M 对抠出的人物调整曲线,参数设置如图8,9,效果如图10。
7、按Ctrl + B 调整色彩平衡,稍微调红一点,效果如下图。
8、创建亮度/对比度调整图层,参数设置如图12,确定后把蒙版填充黑色,用黑色画笔涂抹地面部分,效果如图13。

9、新建一个图层,用黑色画笔把填充部分涂黑,效果如下图。
10、新建一个图层,盖印图层,执行:滤镜 > 模糊 > 高斯模糊,数值为5,确定后把图层混合模式改为“叠加”,加上图层蒙版用黑色画笔把人物部分擦出来,效果如下图。

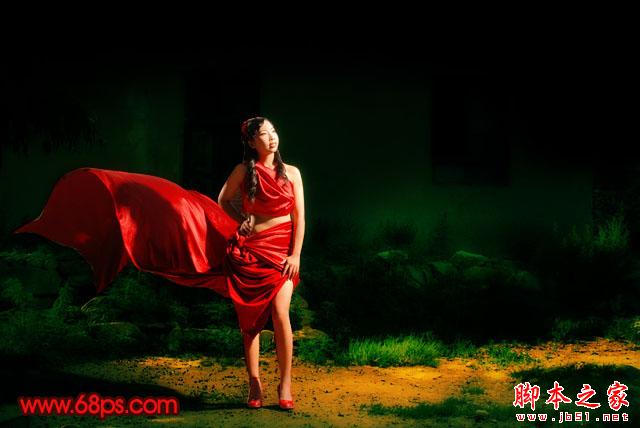
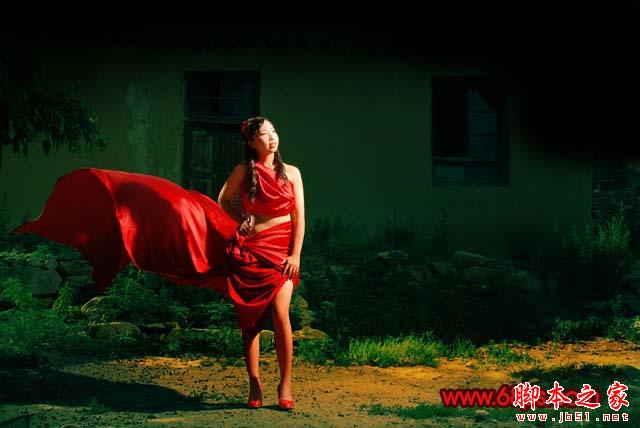
11、最后整体调整下颜色,完成最终效果。