
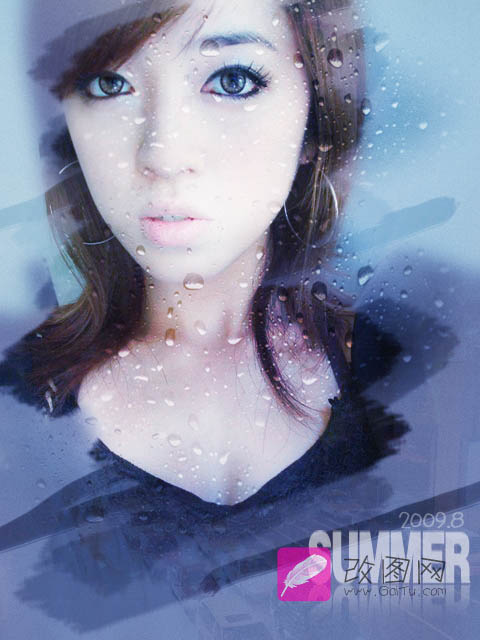
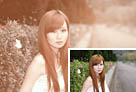
效果图:
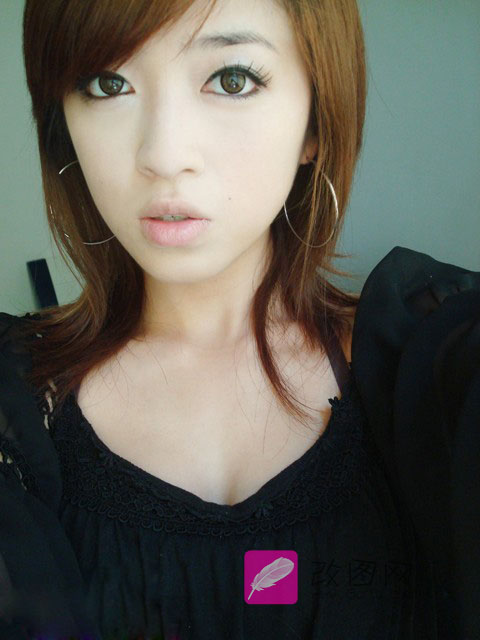
具体的制作步骤如下:
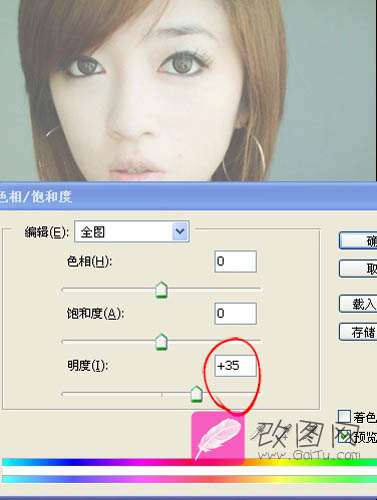
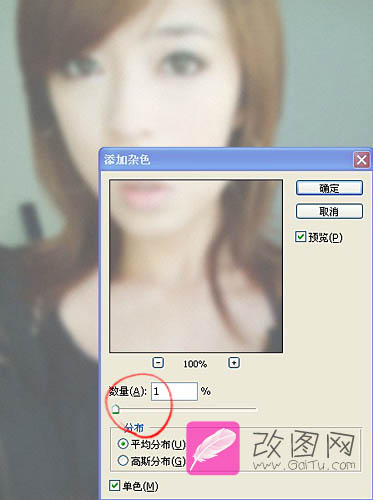
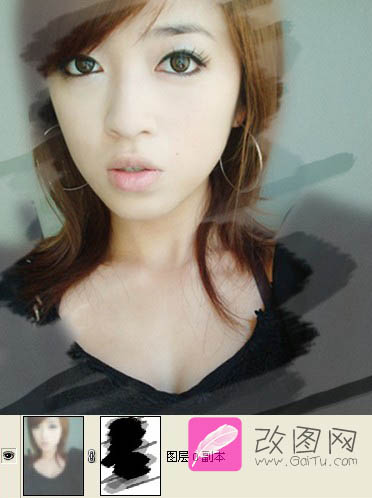
1、打开原图,把背景图层复制一层,按Ctrl + U 调整色相/饱和度(0,0,35)。

效果图:
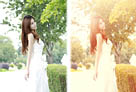
 Photoshop为外景美女增加上柔美的冷色调
 Photoshop为国外美女照片作美白柔肤处理
 photoshop利用通道替换将外景美女图片调制出柔和的红灰色
 Photosho为塑造紧身内衣美女制作视觉曲线效果
 photoshop使用滤镜将美女图片制作漫画图片风格的教程
 Photoshop将草地上的美女调制出柔美的橙紫色
 Photoshop将外景美女图片打造出淡淡梦幻的蓝色
 Photoshop将花草中的美女增加上冷艳的淡调青蓝色
 Photoshop将美女人像照片制作出框外是照片框内是油画风格效果
 Photoshop将公园美女图片调制出柔美的秋季阳光色
 Photoshop将美女照片毫无痕迹的换脸教程
 Photoshop将外景美女图片增加柔和淡雅黄褐色
 Photoshop快速为偏暗的圣诞美女美白
 Photoshop为偏暗的美女照片美白和磨皮教程
 Photoshop CS6使用油画滤镜将美女图片制作成手绘效果
 PhotoShop将睡在木桥上的美女图片调制出梦幻紫色
 Photoshop为外景美女照片调制出夏日金黄色
 Photoshop绘制时尚逼真书籍封面美女教程
 Photoshop将草地美女增加上淡淡的蓝红色
 Photoshop将坐在岩石上的美女制作成在溪水中效果
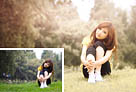
 Photoshop将公园美女调制出柔美的阳光暖色特效