最终效果
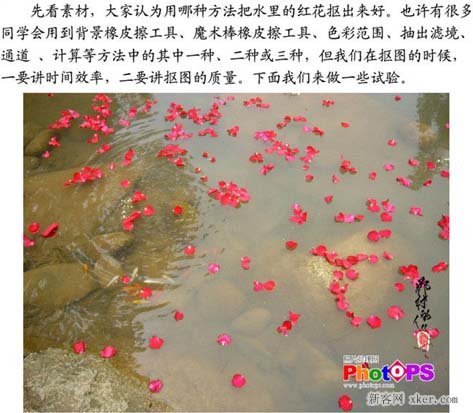
先看素材,大家认为用哪种方法把水里的红花抠出来好。也许有很多同学会用到背景橡皮工具、魔术棒、色彩范围、抽出滤镜、通道、计算等方法中的一种或者几种,但威尔哦们在抠图的时候一要讲时间功率,二要讲抠图质量。下面我们开始来分析。
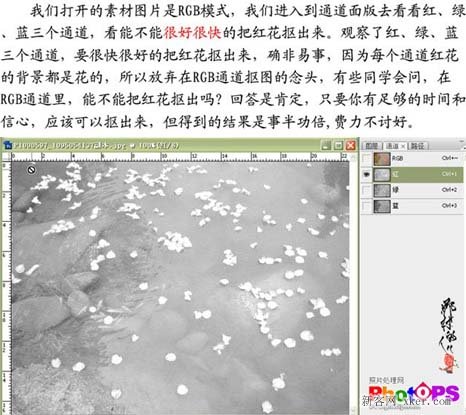
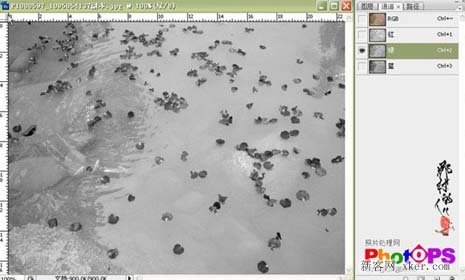
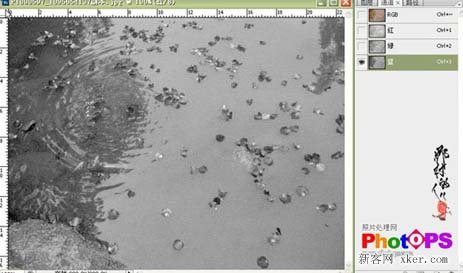
打开原图素材,点通道面板去看看红、绿、蓝三个通道,看能不能很好很快的把红花抠出来,观察了几个通道,要很快很好的把红花抠出来,确非易事,因为每个通道红花的背景都是花的,所以放弃再RGB通道抠图的念头。
既然RGB通道不好扣,我们试试别的方法。
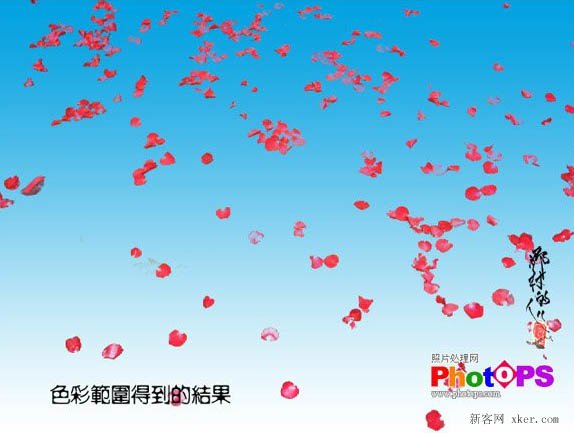
1、色彩范围:
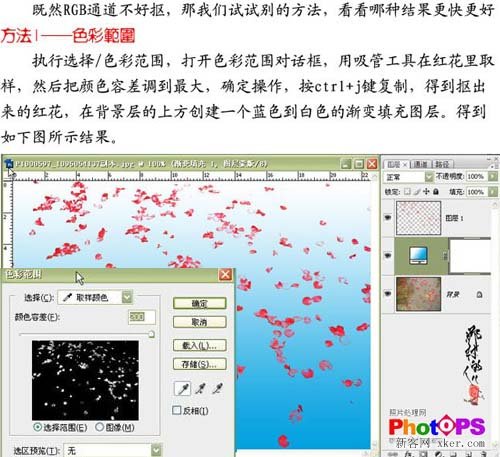
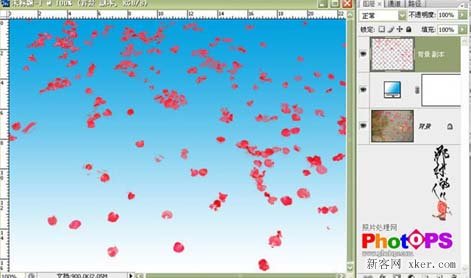
执行:选择>色彩范围,打开色彩范围对话框,用吸管工具在红花里取样,然后把颜色容差调到最大,确定操作,按Ctrl+J复制得到抠出的红花,在背景层上方新建一个图层,然后拉上蓝色到白色渐变效果得到下图所示结果。
2、抽出滤镜:
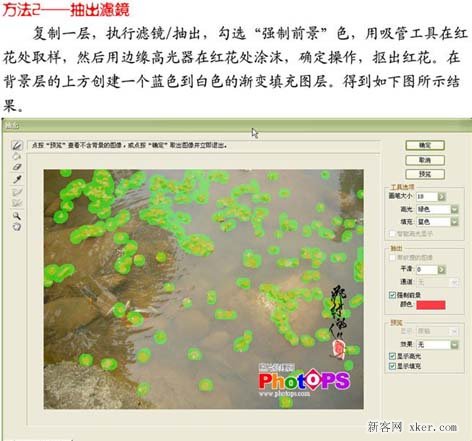
复制一层,执行:滤镜>抽出,勾选“强制前景”色,用吸管工具在红花处取样,然后用边缘高光器在红花处涂抹,确定操作,抠出红花,在背景层上方新建一个蓝色到白色渐变填充图层,得到下图所示效果。
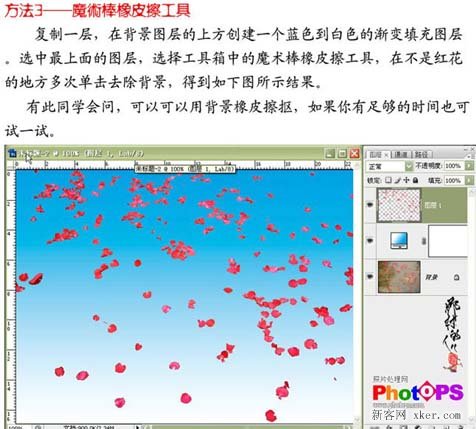
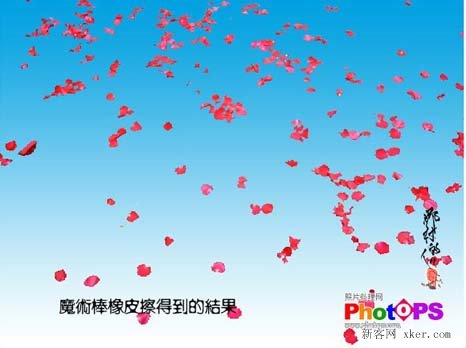
3、魔术棒橡皮擦工具:
复制一层,在背景图层的上方创建一个蓝色到白色的渐变填充图层,选中最上面的图层,选择工具相中的魔术棒橡皮工具,在不是红花的地方多次单击去除背景,得到如下图所示结果。
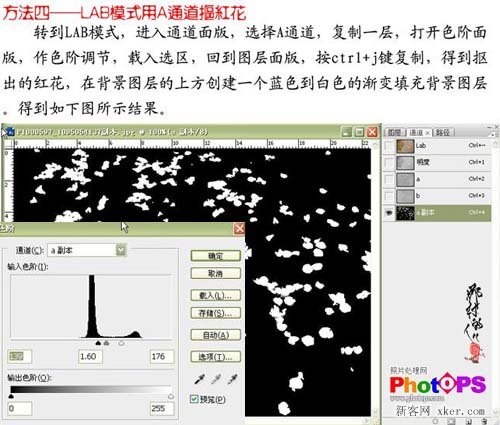
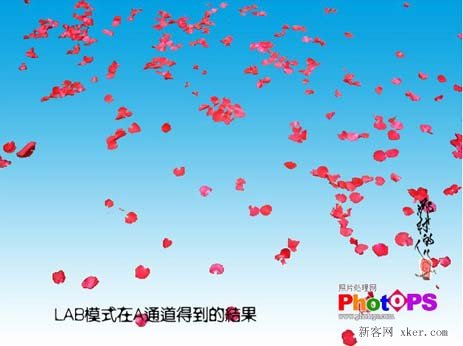
4、Lab模式用a通道勾图:
打开原图选额菜单:图像>模式>Lab颜色,进入通道面板,选择a通道,复制一层,打开色阶面板做色阶调节,载入选区,回到图层面板,按Ctrl+J复制得到抠出的红花。
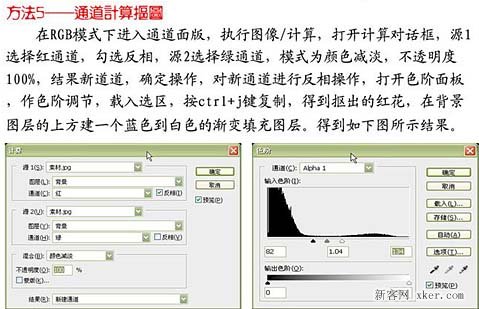
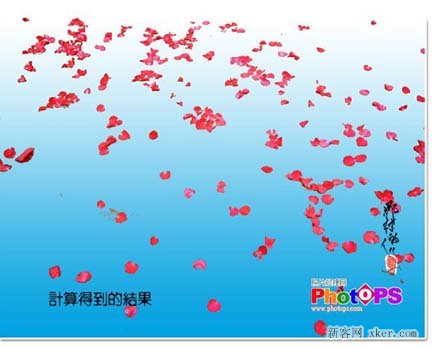
5、通道计算抠图:
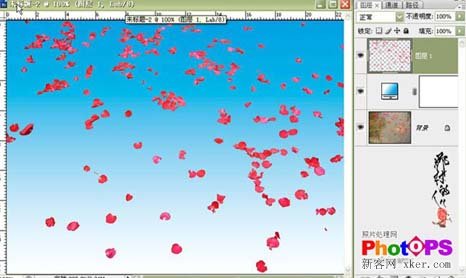
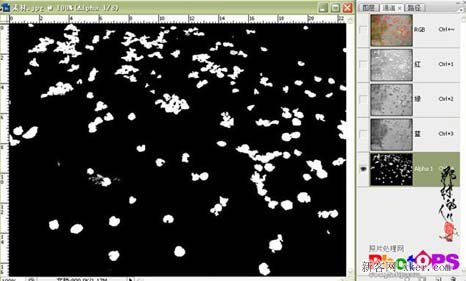
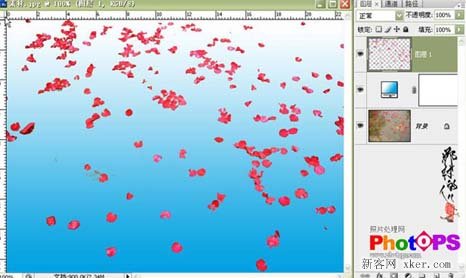
在RGB模式下,进入通道面板,执行:图像>计算,打开计算对话框,源1选择红通道,勾选反相,源2选择绿通道,模式为颜色减淡,不透明度100%,结果:新通道,确定操作,对新通道进行反相操作,打开色阶面板,做色阶调节,载入选区,按Ctrl+J复制,得到抠出的红花,在背景层的上方新建一个蓝色到白色的渐变填充层得到如下图所示结果。
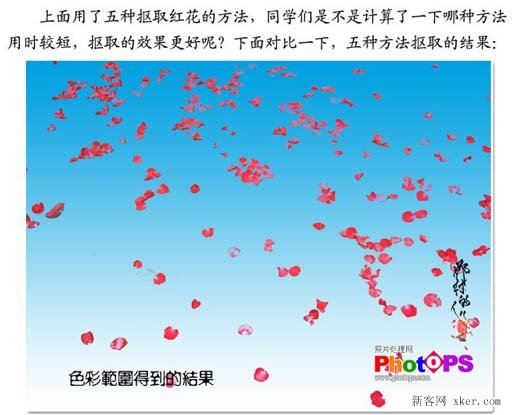
上面用了五种抠取红花的方法,现在来比较下效果。

总结。

如果您喜欢本文请分享给您的好友,谢谢!