让我们一起来看看这个教程吧

Step 1
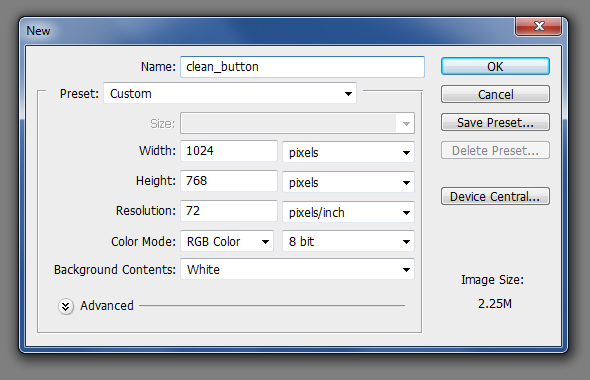
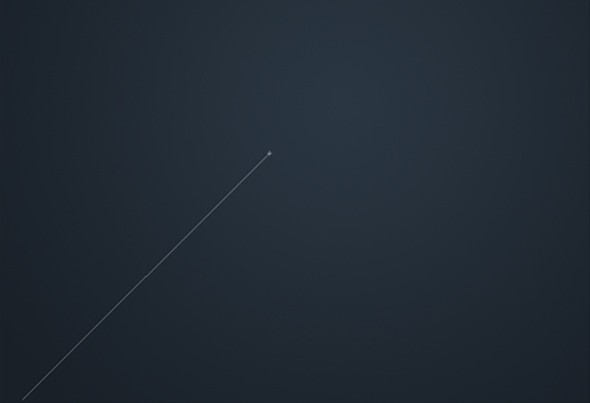
我们将首先在Photoshop创建一个新文档。 让我们有1024 × 768px
Step 2
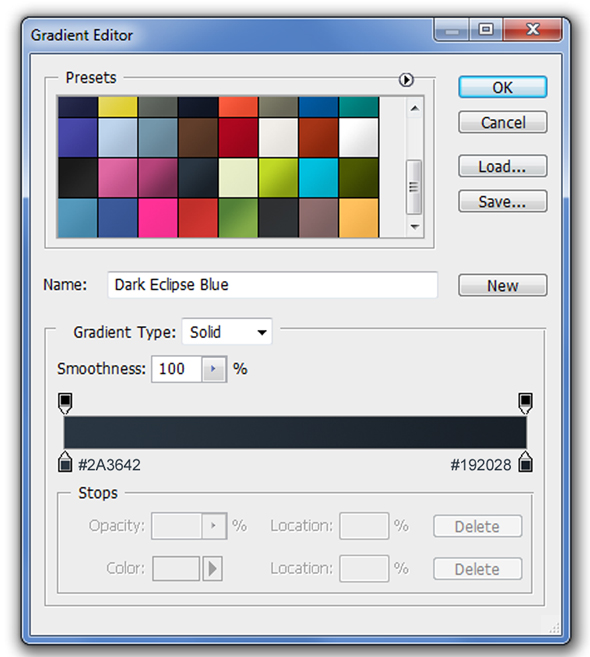
为了填补你的背景,选择渐变工具(G)的渐变编辑器打开了,并输入您的颜色值按下面的图像
Step 3
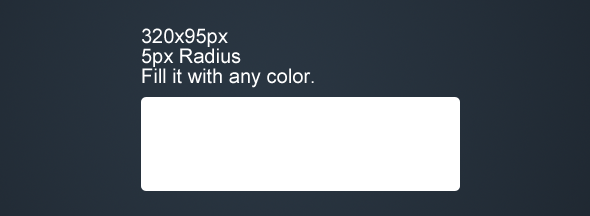
让我们创造了我们的按钮的机构。 使用圆角矩形工具(U),现在只是创造了约320 × 95px,对5px半径和填充任何颜色(它的矩形,因为我们将添加一个渐变叠加)。
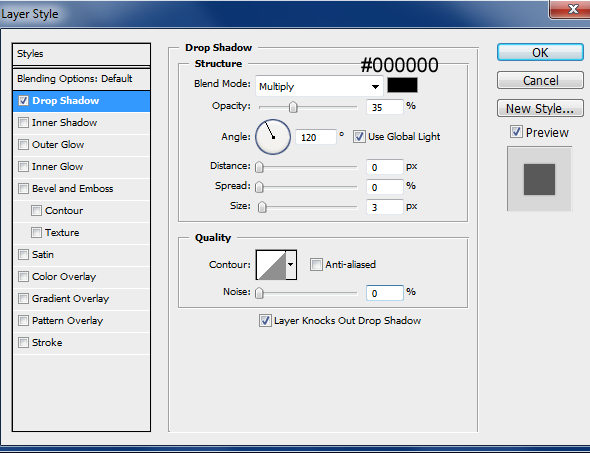
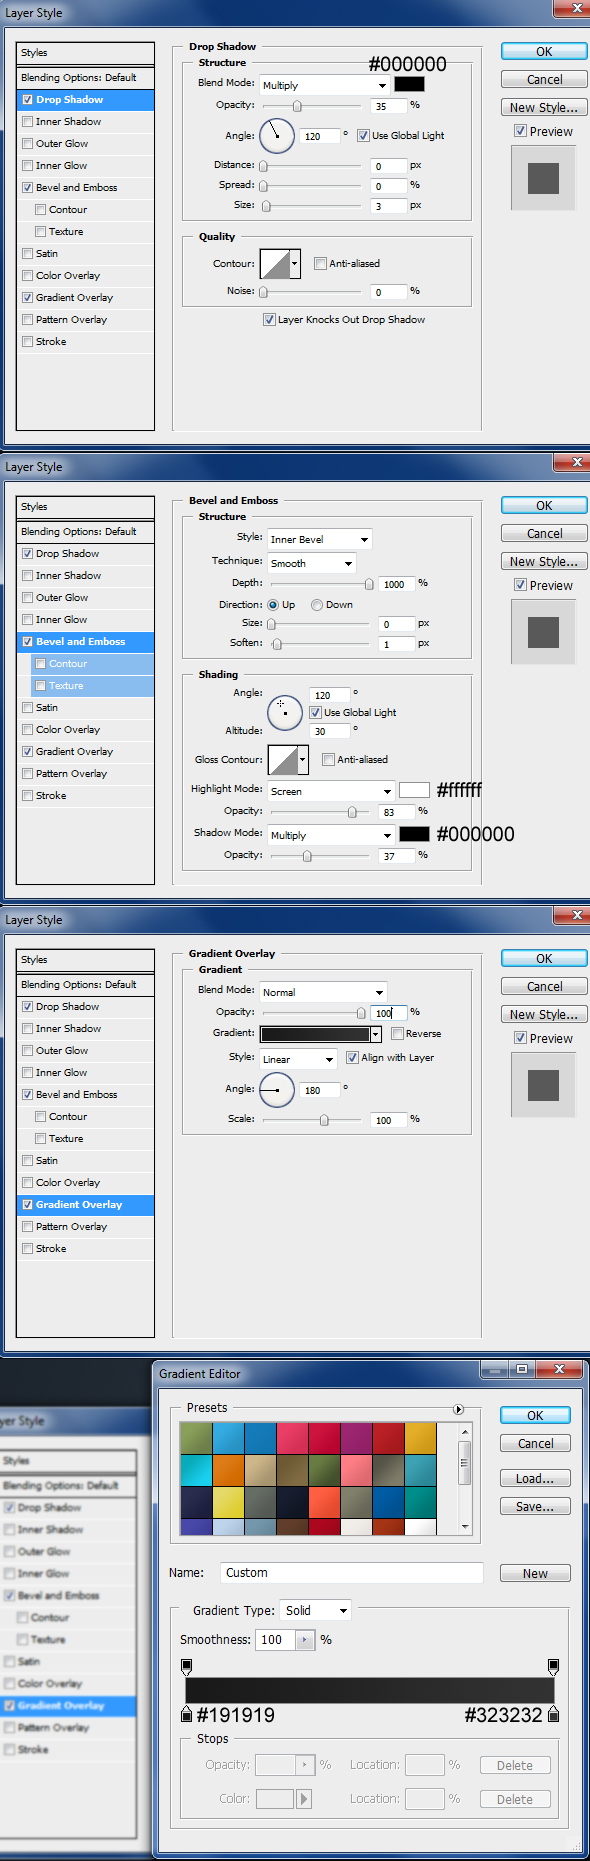
我们将加强它如何给予它一些图层样式外观。 首先,套用阴影。
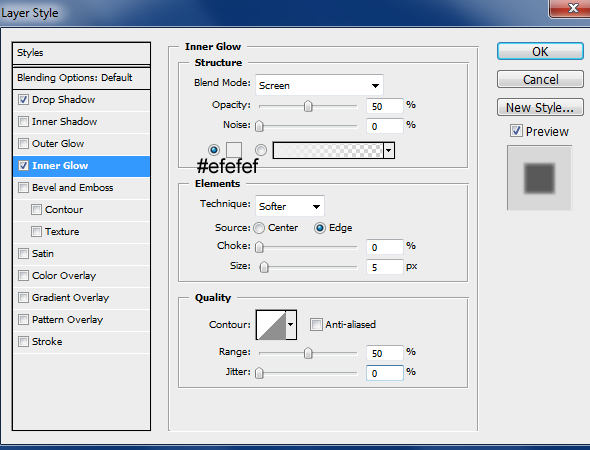
内发光效果…
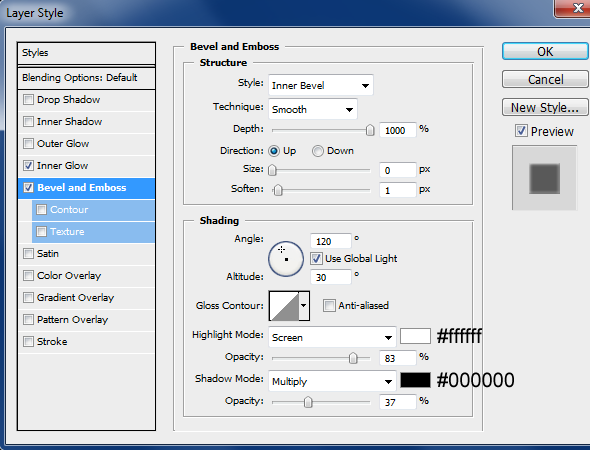
斜面和浮雕…
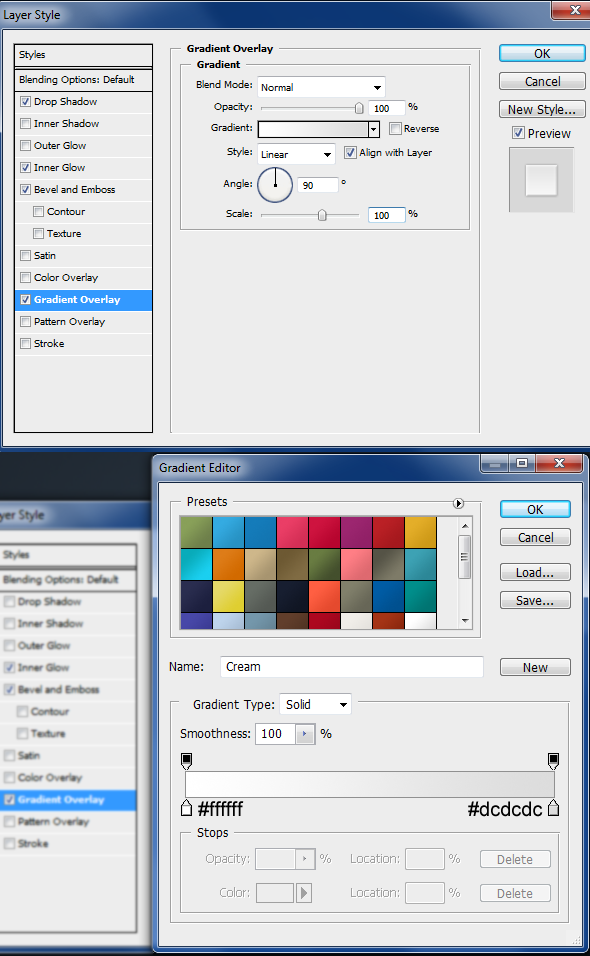
最后,一个渐变叠加
Step 4
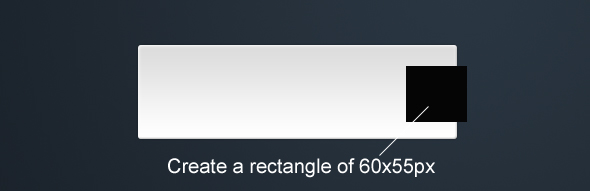
现在,让我们继续创造箭头机构。 我们将首先创建一个约60 × 55px的矩形使用矩形工具(U)。
继续下去,并给它一些图层样式。 下面的图片以供参考使用
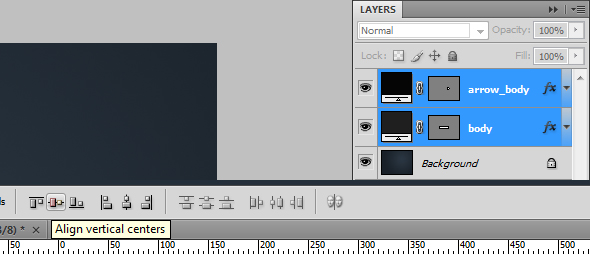
为了确保它的垂直和对齐,选择这两个层次,其中包含按钮和箭头机构(概括地讲,我们只有两个层迄今)和对齐单击控制条垂直中心
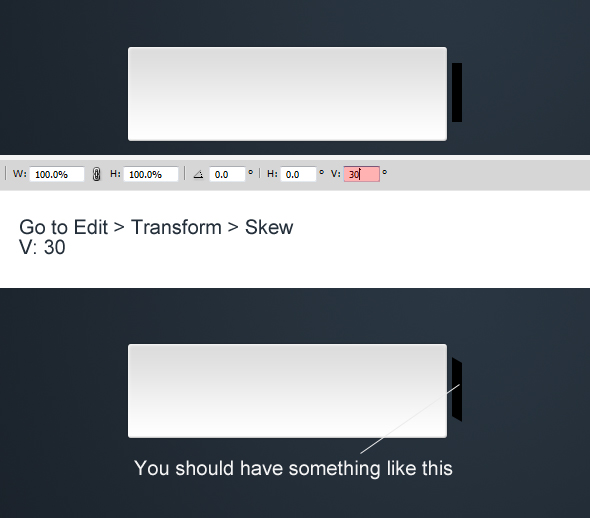
创建一个小的矩形,如在下面的图片1()。然后转到“编辑>变换>斜交>V:30
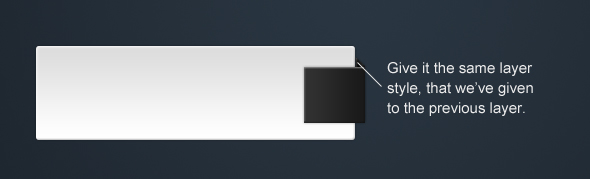
给它同样的图层样式
Step 5
使用自定义形状工具(U)创建一个约30 ×箭头。
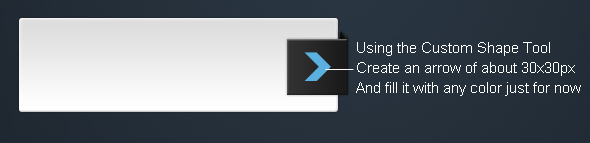
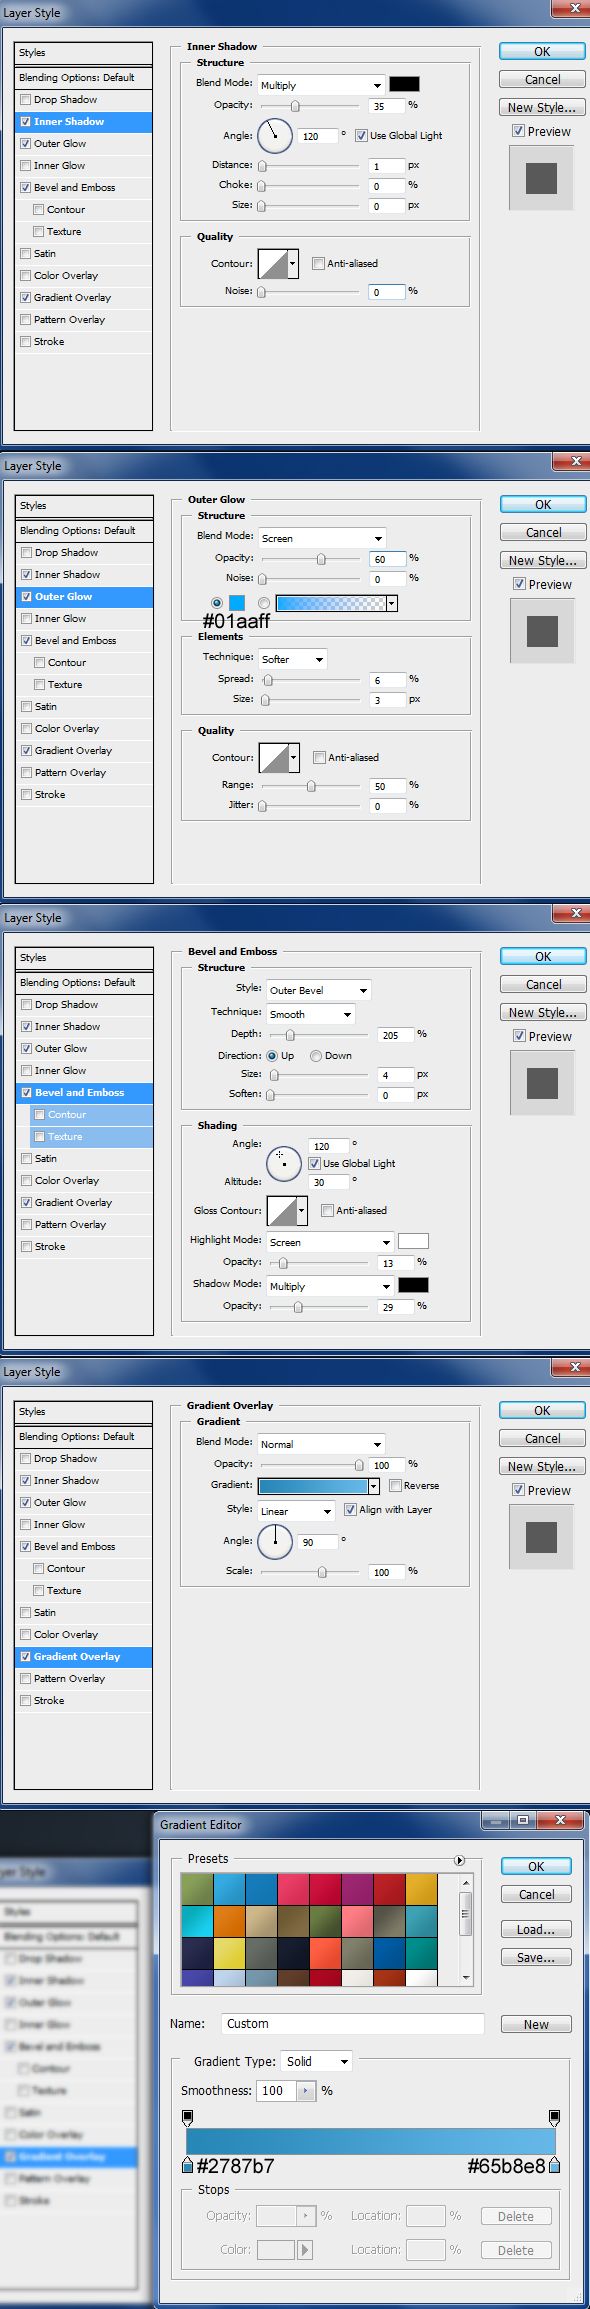
给它一些图层样式根据下面的图像
Step 6
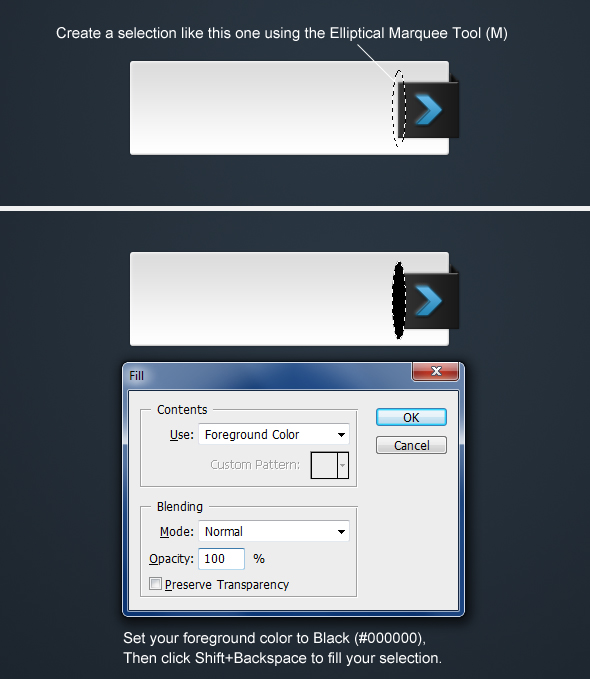
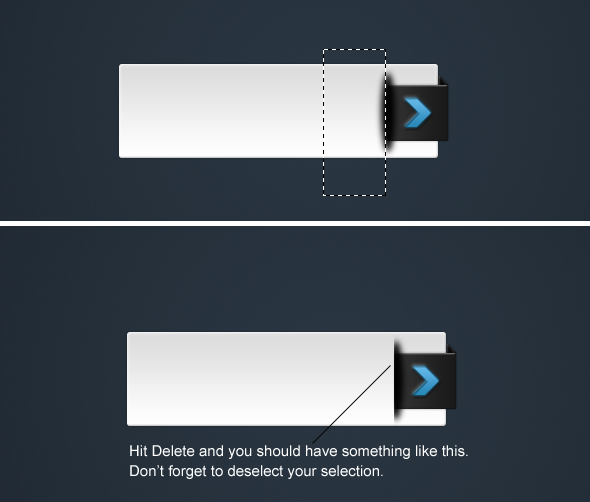
让我们创造我们的分离。 使用椭圆选框工具(M),创建一个类似下面的选择。 设置你的前景色黑色(#000000),然后单击转移+ Backspace键得到填补
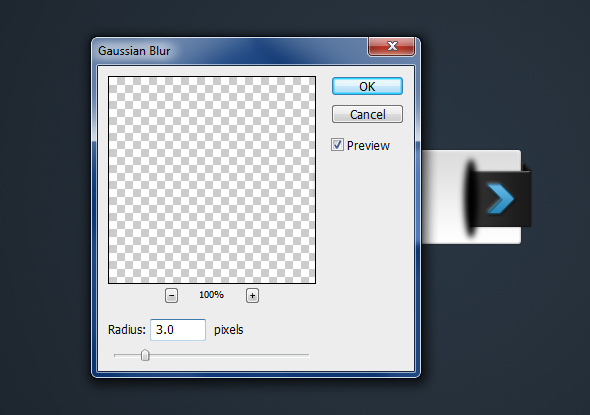
为了使它看起来有点模糊。 滤器“>模糊”高斯模糊 – 半径:3.0px
请在它的左边部分的选择(见下面的参考)图像,然后按下删除
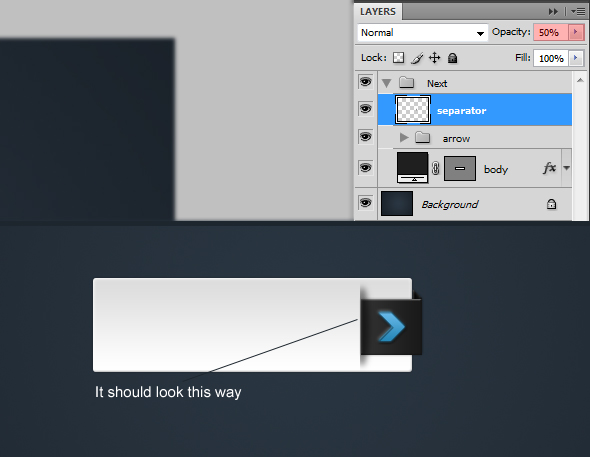
减少这层不透明度为:50%。
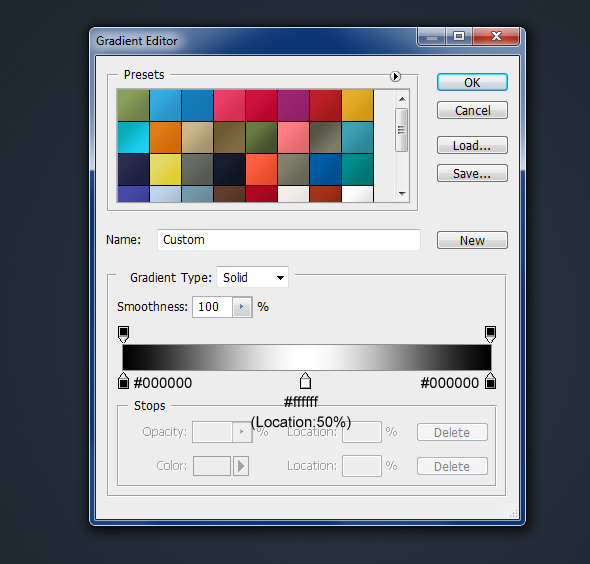
打开你的渐变编辑器并设置颜色值按下面的图像。
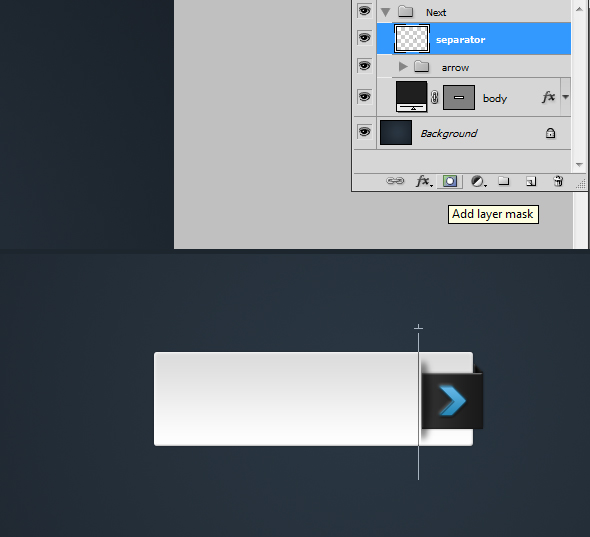
在选择分离器的层上添加单击图层蒙板。 然后拖动与梯度(我们刚刚成立的顶部)上下。
Step 7
创建另一个在左侧的三维形状,使用上面我们已经解释过相同的技术

Step 8
输入字体
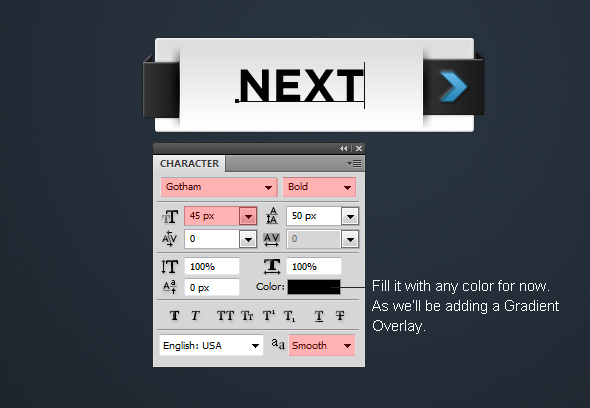
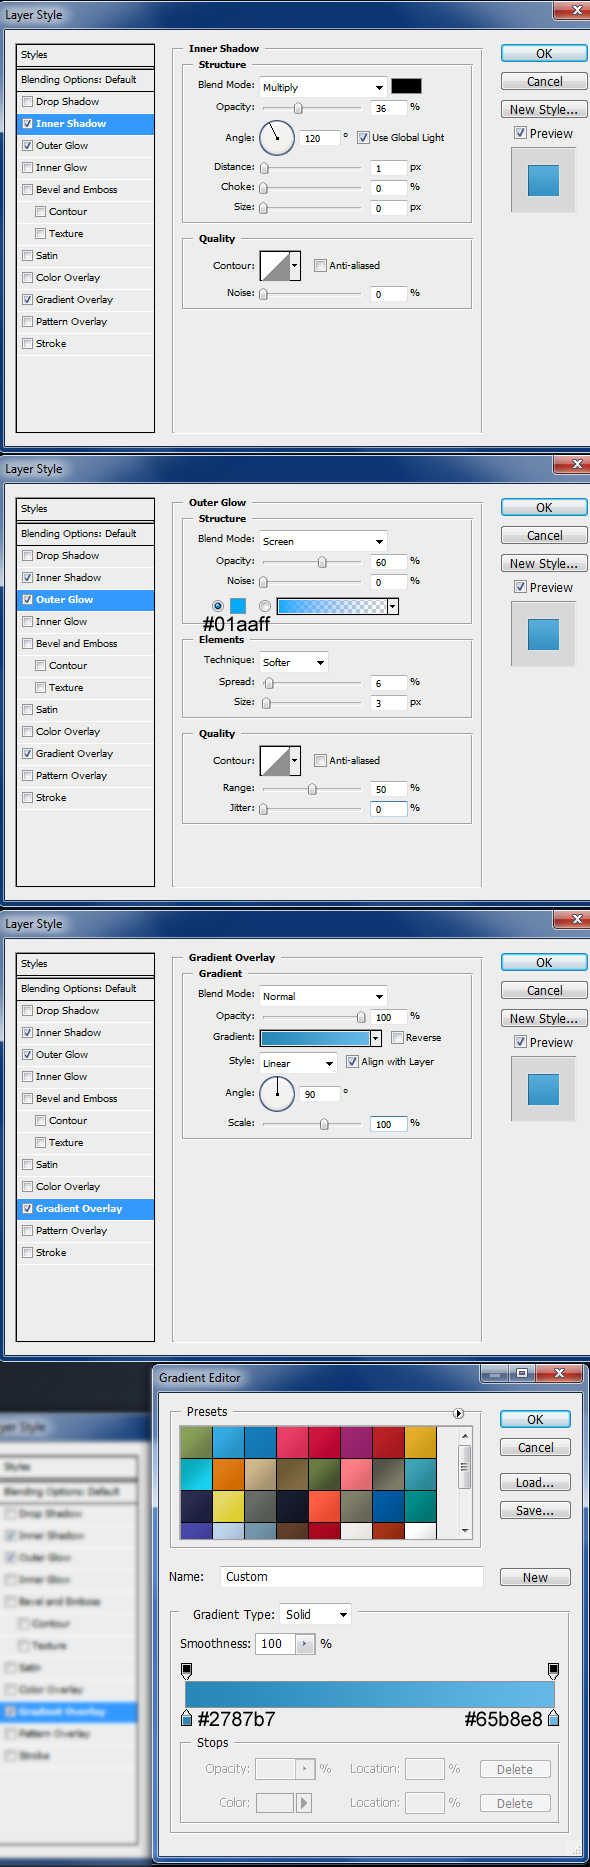
应用一些图层样式给它。 Use the image below for reference.下面的图片以供参考使用。
得到最终效果