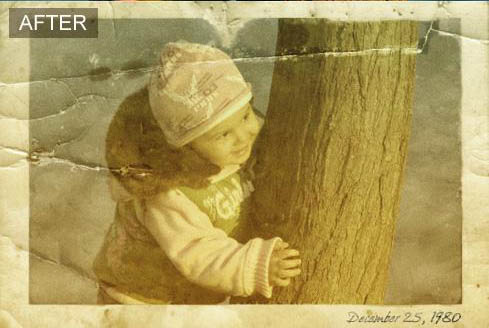
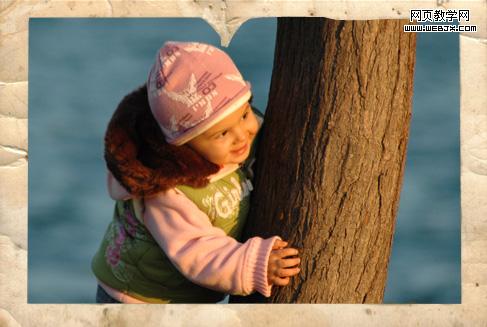
最终效果:
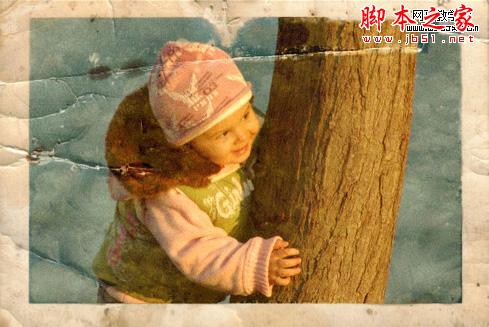
原图:

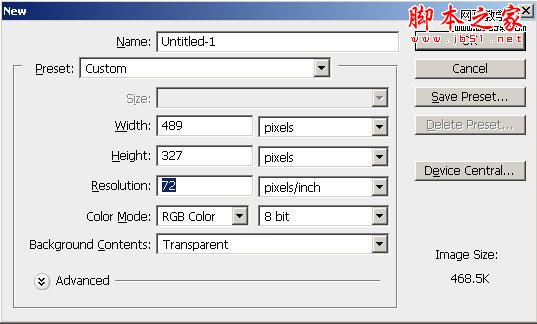
1、在Photoshop中创建一个489×324像素大小的新文档,如果照片比较大,你也可以创建一个大一些的文档。
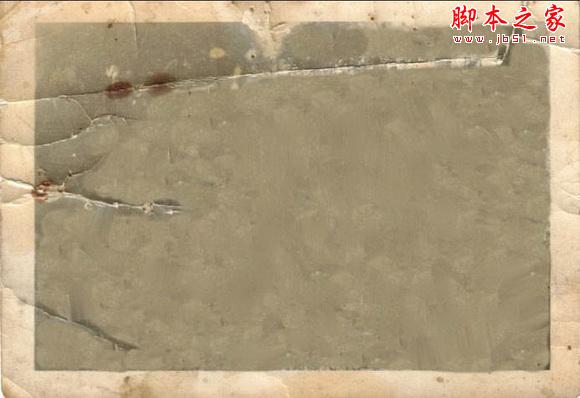
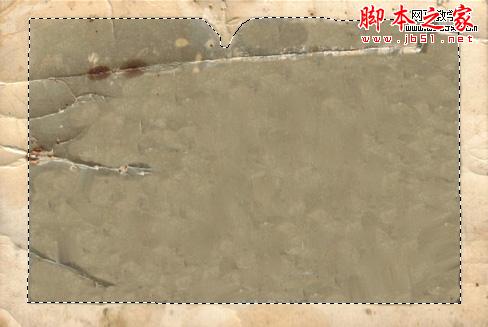
2、打开下图所示的背景素材,拖进来适当调整好大小跟文档大小一致。
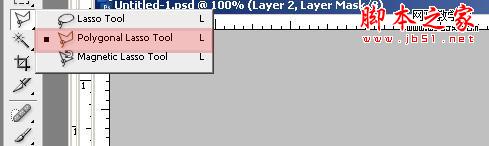
3、打开人物素材,像第二步那样调整它的大小,这样使得照片和我们创建的新文档保持同样的大小。将照片拖至文档上方,并且也要确保它在材质图层的上方。隐藏照片图层,确保照片图层仍然是当前被选择的图层,使用多边形套索工具(快捷键L),沿着相框的灰色部分作出选区。
4、显示照片图层,点击图层蒙板图标。在图层蒙板图标后,你会看到在照片图层中出现了有白色边框的黑色方框,这意味着我们的照片已经被覆盖上了蒙板。黑色的区域是隐藏的区域,而白色的区域是非隐藏区域。

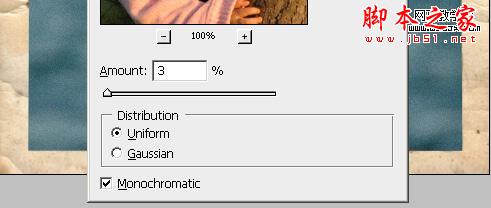
5、让我们给照片加上颗粒效果。选择滤镜 > 杂色 > 添加杂色,使用下面的设置。
6、将图层混合模式改为叠加,这样会得到下面的效果。

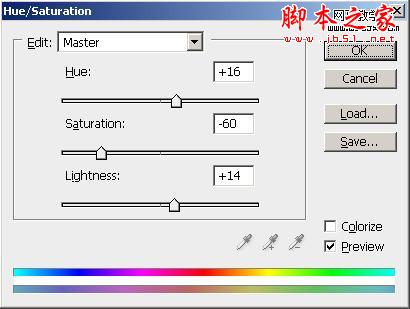
7、现在让我们给照片和相框增加颜色上的饱和度。点击图层>新调整图层>色相和饱和度,使用下面的设置:
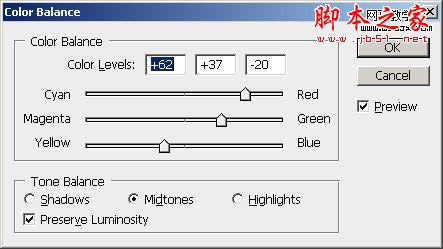
8、就像你观察到的那样,老照片是泛着微黄色的,要做出这样的效果,点击图层>新调整图层>色彩平衡,并且应用如下设置:
9、最后让我们添加上旧的和复古的效果。在所有图层的上方创建一个新图层,使用渐变工具,创建一个从#3a5750 至 #b97630的线性渐变。

10、将渐变图层的混合模式更改为柔光,不透明度设置为73%。这样我们就完成了旧照片的效果。