
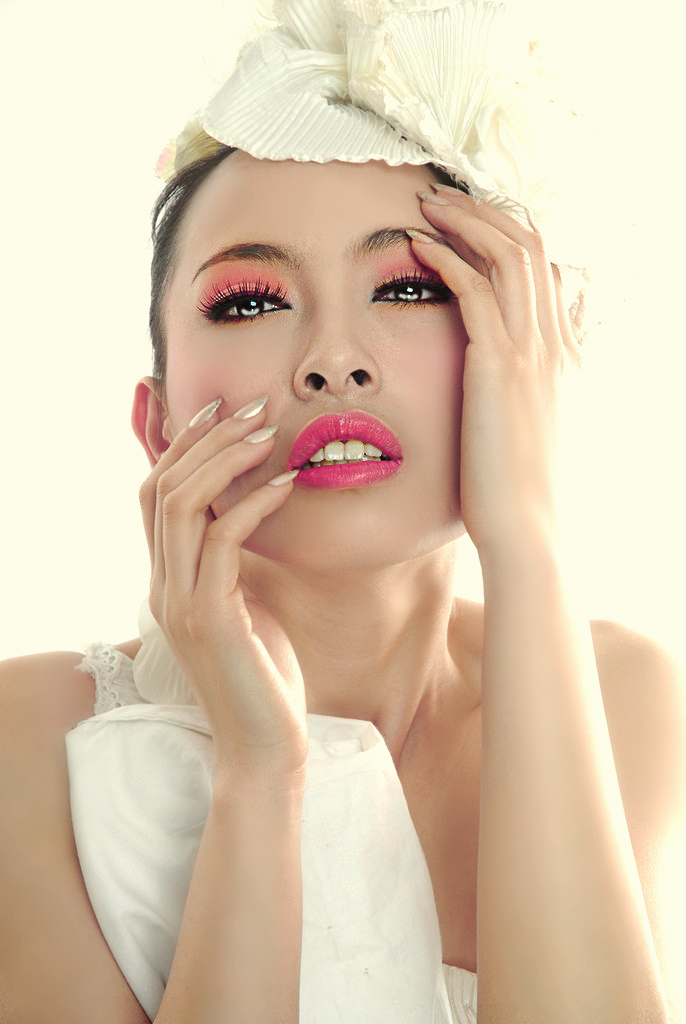
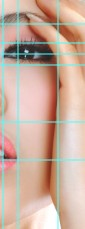
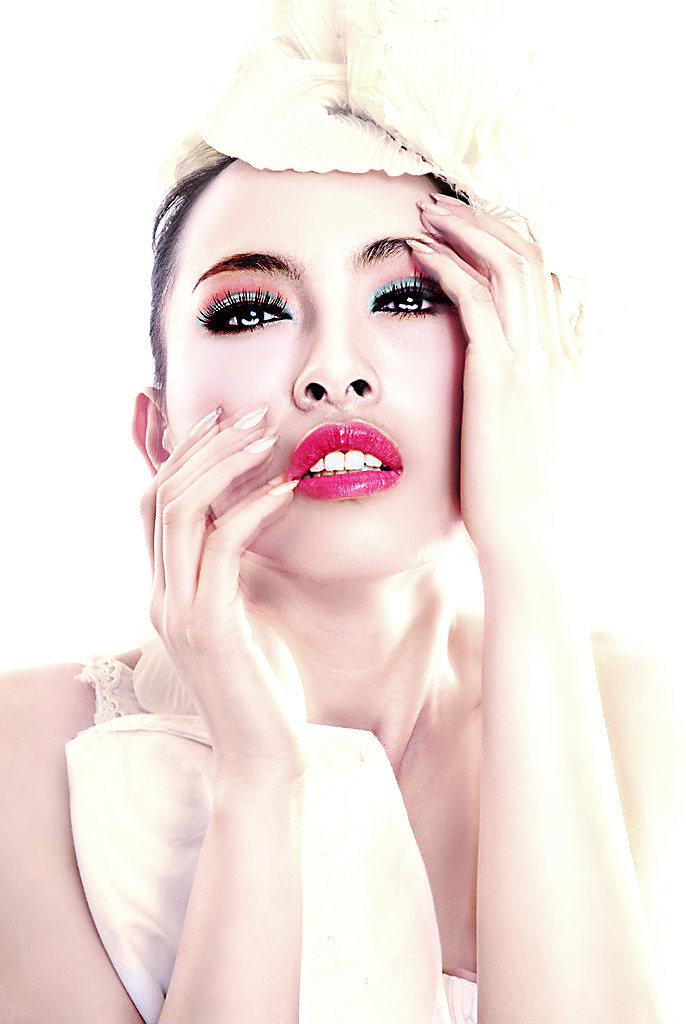
原图:
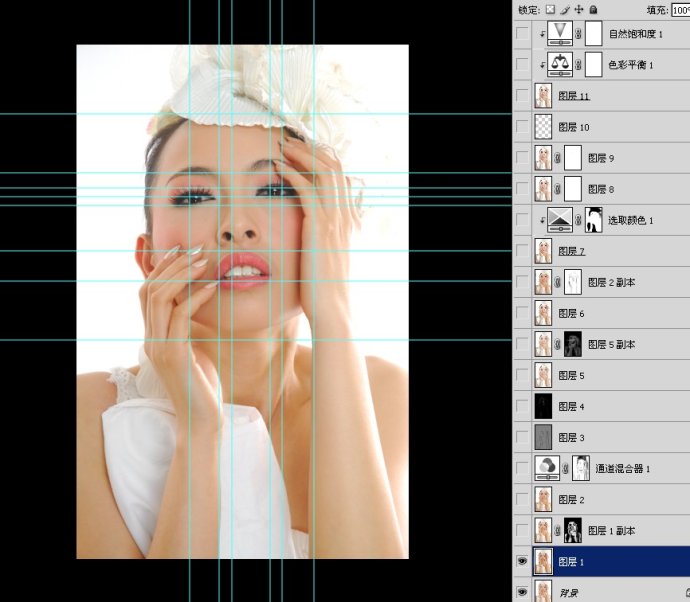

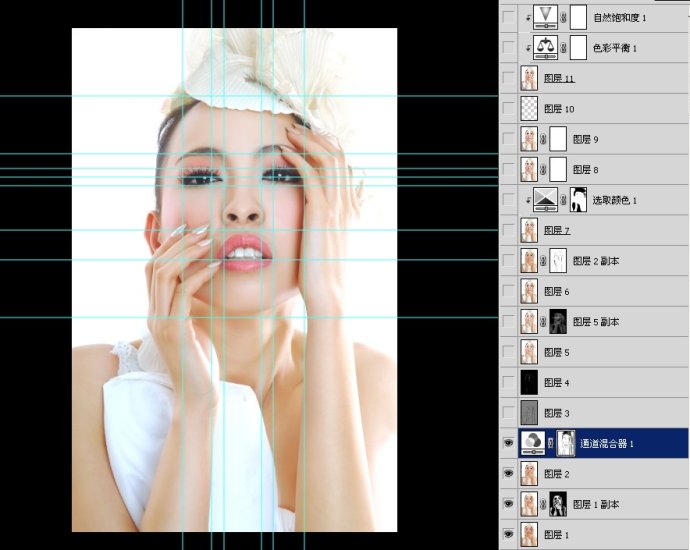
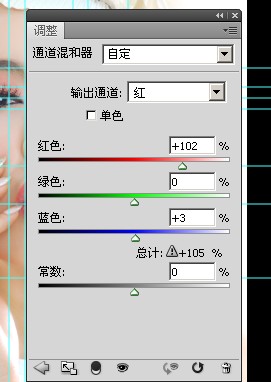
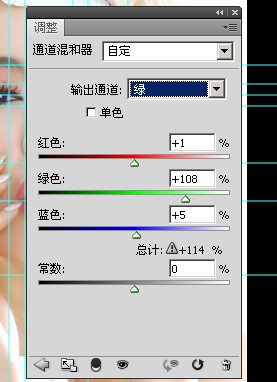
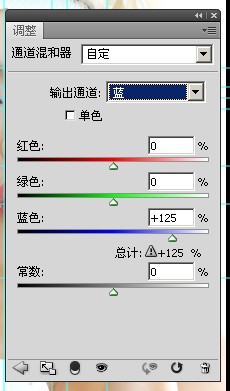
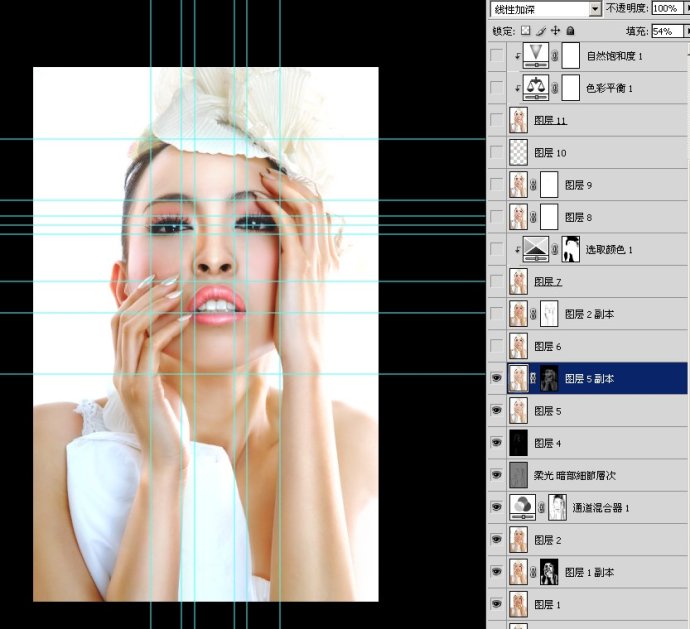
圖層3進行通道混合器
填充不要超過5 超過就會有燒焦過曝的感覺

然後對
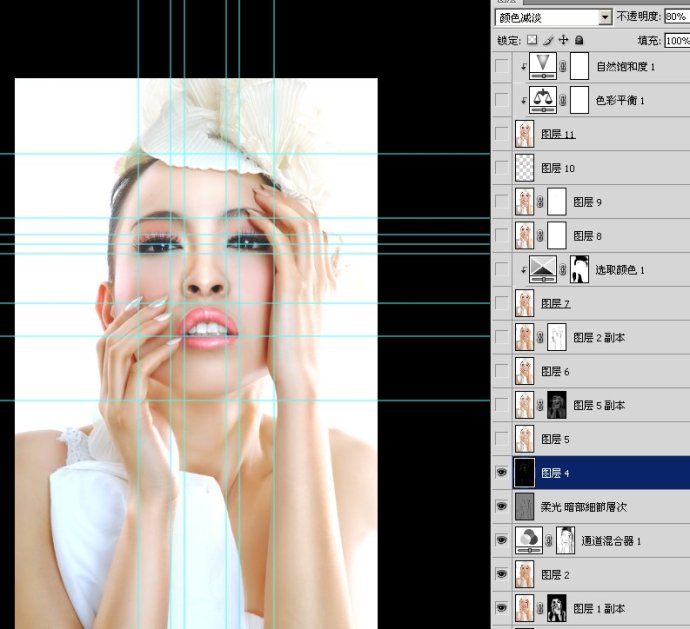
我是借圖層2的顏色,進行 模式溕?B加 你們可以吸附近的顏色
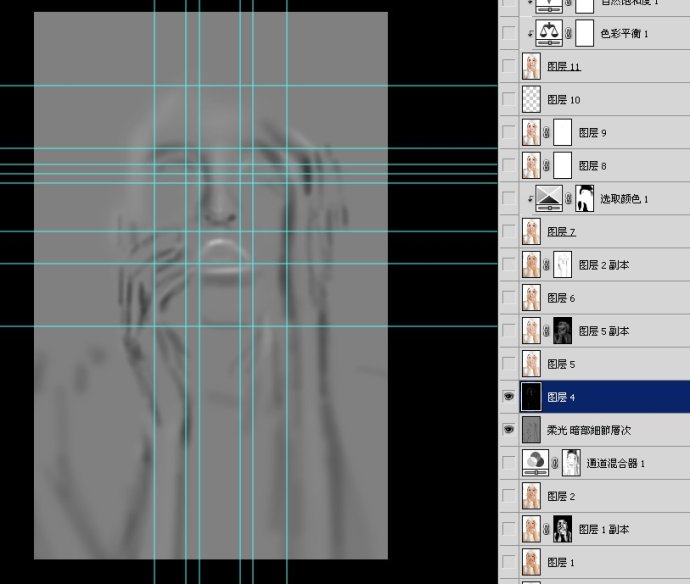
這是改善手的陰影
那是臉的地方,不能太過重
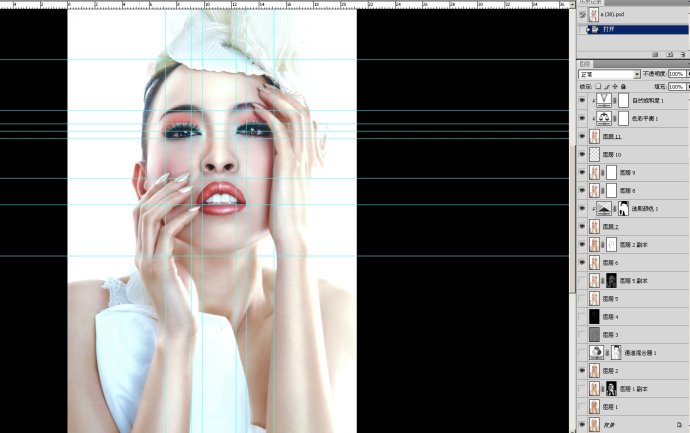
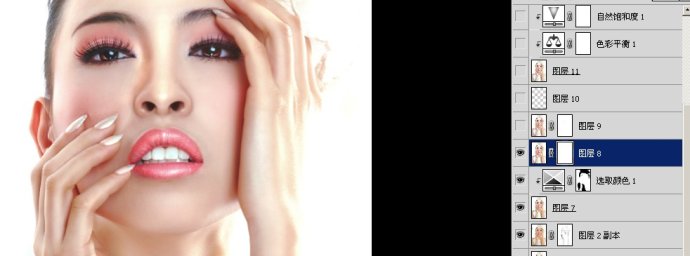
然後蓋章得到圖層7
好了,這一部算是完成了
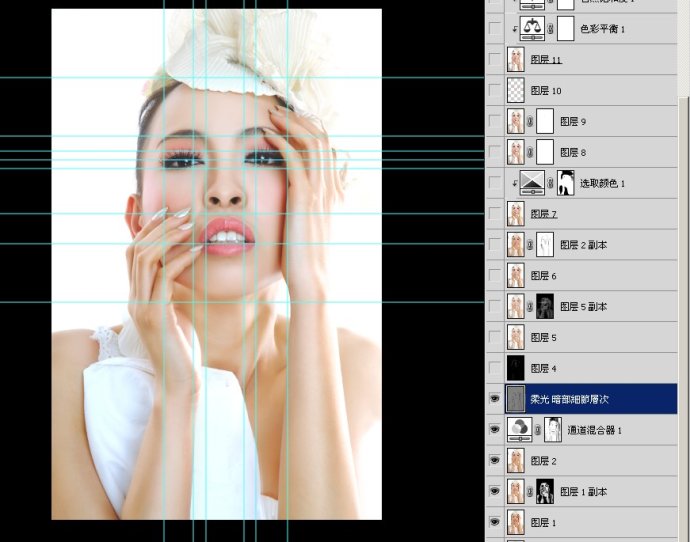
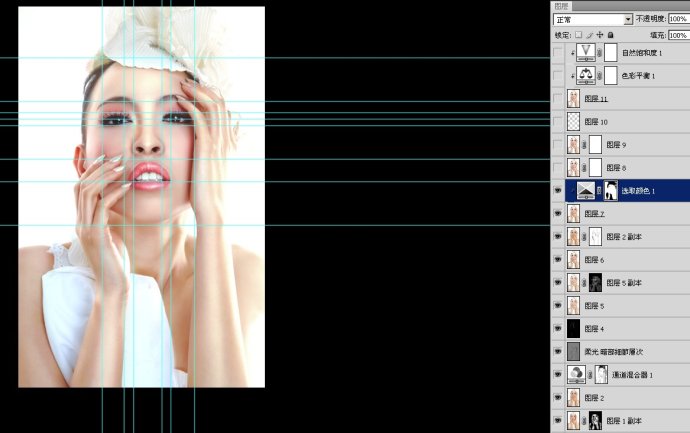
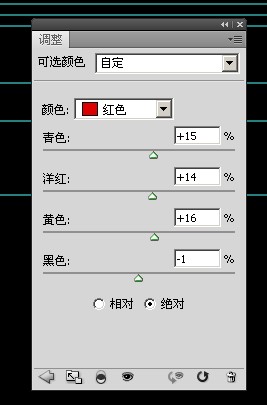
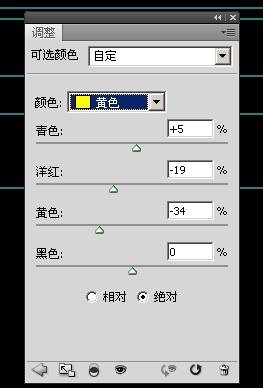
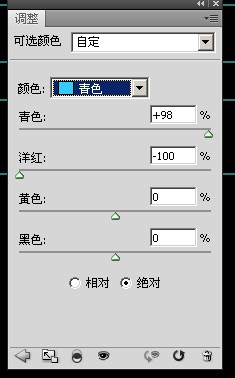
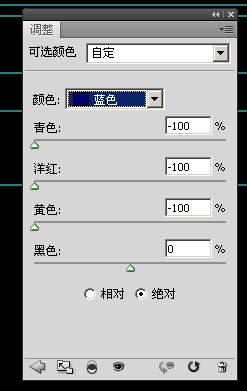
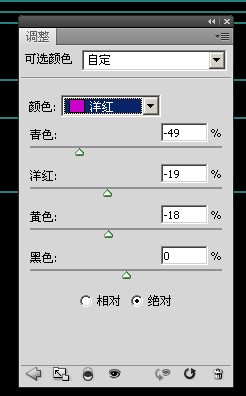
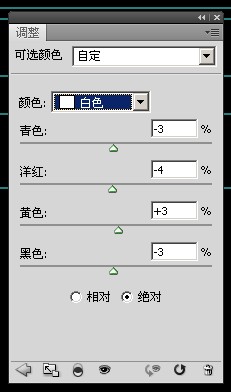
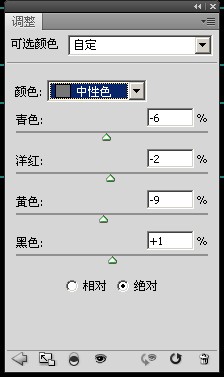
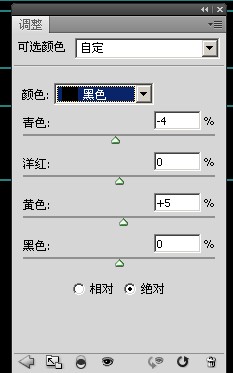
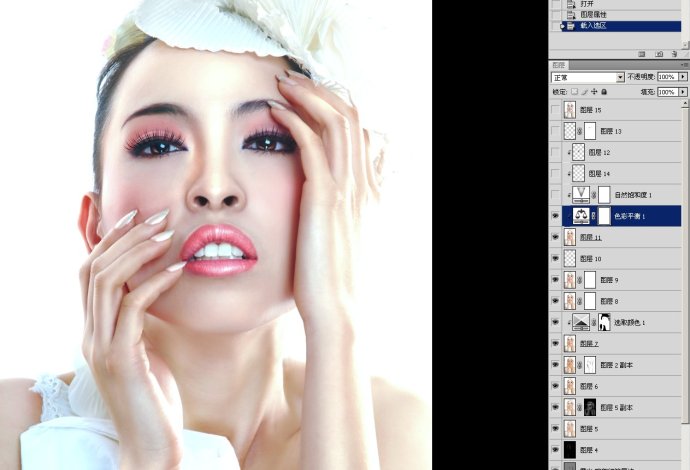
整體是完成了,進行可選,顏色進行統一
高光和中灰還有暗部,還有紅 黃 白進行調整
加蒙板,把不是膚色部份擦回去
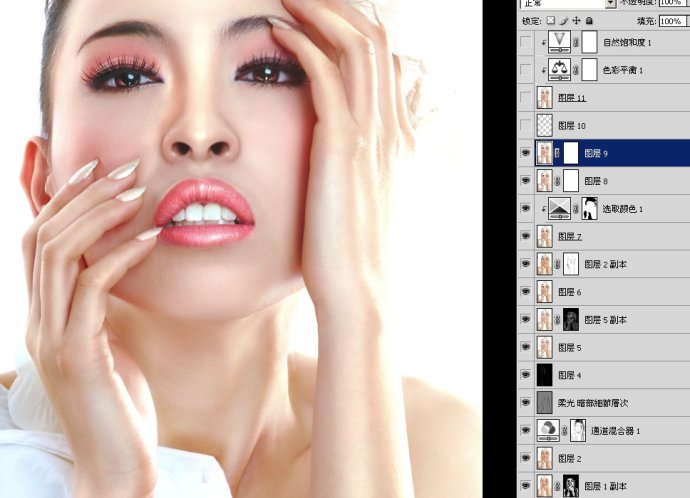
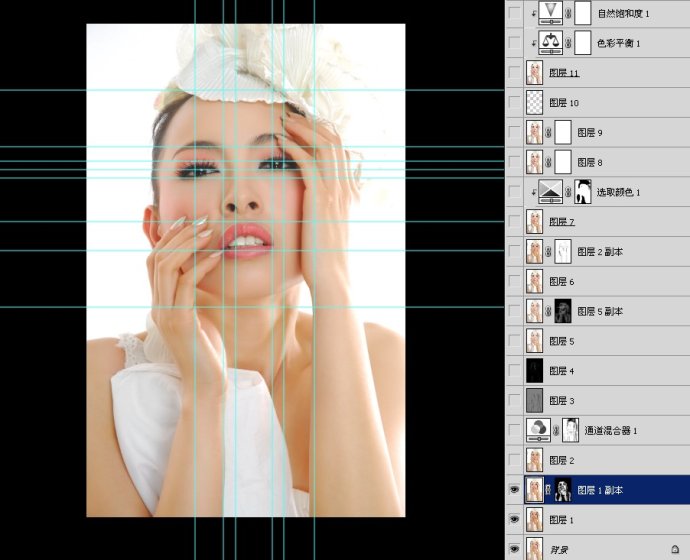
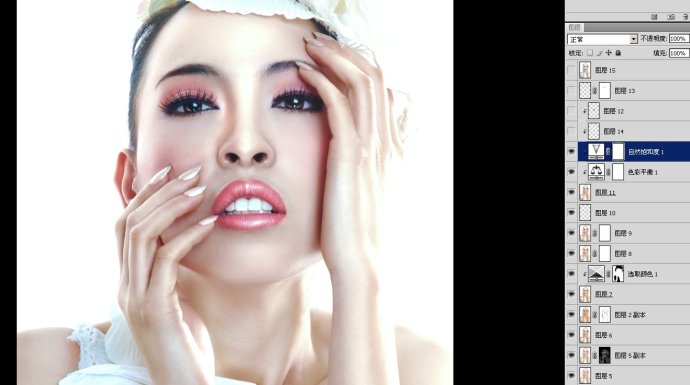
圖層10 加胭紅 加雜色加臙紅
蓋章得到圖層11 進行整體顏色效正,因為臉部比較透,不夠厚 不夠膠片,顆粒還不夠重,還有下面的顏色比較偏黃進行效正
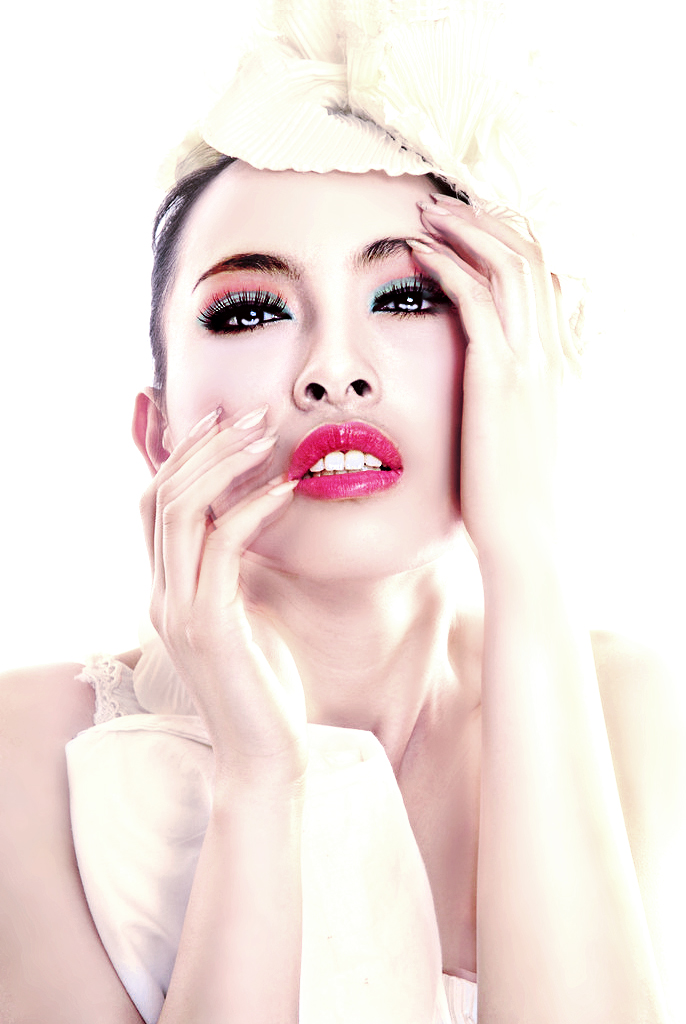
原图:
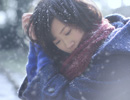 Photoshop为人像制造浪漫雪景特效
 photoshop为外拍美女人像做超自然磨皮
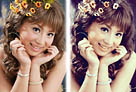
 Photoshop将室内人像图片打造出怀旧黄绿色
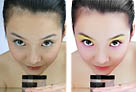
 Photoshop为偏暗偏黄的人物肖像纠正失真的肤色
 Photoshop为后期人像精修磨皮处理
 Photoshop为严重偏紫色人物恢复自然肤色
 Photoshop将美女图片制作成字母小图人像效果
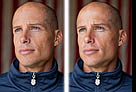 Photoshop将中年男子肤色增加质感效果
 Photoshop使用置换工具制作透明水滴人像效果
 Photoshop快速为脸色蜡黄人做肤色美白处理
 Photoshop将投影人像做后期处理教程
 Photoshop简单为偏暗的室内人像美白及润色
 photoshop将人像图片制作出拼图效果
 Photoshop将美女人像照片制作出框外是照片框内是油画风格效果
 Photoshop Lightroom 4将彩色人像制作出高对比度黑白人像效果
 Photoshop将人像照片调出暖色调效果
 Photoshop为室内性感美女调制出柔美肤色效果
 Photoshop为美女图片调出质感的淡黄肤色效果
 Photoshop为室内人像打造出古典淡黄色效果
 photoshop将蓝色美女图片打造出另类时尚金色肤色教程
 Photoshop为偏暗的室内人像美白及增加彩妆教程
Photoshop为人像制造浪漫雪景特效
photoshop为外拍美女人像做超自然磨皮
Photoshop将室内人像图片打造出怀旧黄绿色
Photoshop为偏暗偏黄的人物肖像纠正失真的肤色
Photoshop为后期人像精修磨皮处理
Photoshop为严重偏紫色人物恢复自然肤色
Photoshop将美女图片制作成字母小图人像效果
Photoshop将中年男子肤色增加质感效果
Photoshop使用置换工具制作透明水滴人像效果
Photoshop快速为脸色蜡黄人做肤色美白处理
Photoshop将投影人像做后期处理教程
Photoshop简单为偏暗的室内人像美白及润色
photoshop将人像图片制作出拼图效果
Photoshop将美女人像照片制作出框外是照片框内是油画风格效果
Photoshop Lightroom 4将彩色人像制作出高对比度黑白人像效果
Photoshop将人像照片调出暖色调效果
Photoshop为室内性感美女调制出柔美肤色效果
Photoshop为美女图片调出质感的淡黄肤色效果
Photoshop为室内人像打造出古典淡黄色效果
photoshop将蓝色美女图片打造出另类时尚金色肤色教程
Photoshop为偏暗的室内人像美白及增加彩妆教程
Photoshop为偏暗的室内人像美白及增加彩妆教程
Photoshop为人像制造浪漫雪景特效
photoshop为外拍美女人像做超自然磨皮
Photoshop将室内人像图片打造出怀旧黄绿色
Photoshop为偏暗偏黄的人物肖像纠正失真的肤色
Photoshop为后期人像精修磨皮处理
Photoshop为严重偏紫色人物恢复自然肤色
Photoshop将美女图片制作成字母小图人像效果
Photoshop将中年男子肤色增加质感效果
Photoshop使用置换工具制作透明水滴人像效果
Photoshop快速为脸色蜡黄人做肤色美白处理
Photoshop将投影人像做后期处理教程
Photoshop简单为偏暗的室内人像美白及润色
photoshop将人像图片制作出拼图效果
Photoshop将美女人像照片制作出框外是照片框内是油画风格效果
Photoshop Lightroom 4将彩色人像制作出高对比度黑白人像效果
Photoshop将人像照片调出暖色调效果
Photoshop为室内性感美女调制出柔美肤色效果
Photoshop为美女图片调出质感的淡黄肤色效果
Photoshop为室内人像打造出古典淡黄色效果
photoshop将蓝色美女图片打造出另类时尚金色肤色教程
Photoshop为偏暗的室内人像美白及增加彩妆教程